home > Service > Network > SRAS > SRAS wireless LAN > SRAS Wireless LAN Setting Guide(Windows10)
SRAS Wireless LAN Setting Guide(Windows10)
■Contents
1.How to register the wifi on AMI?
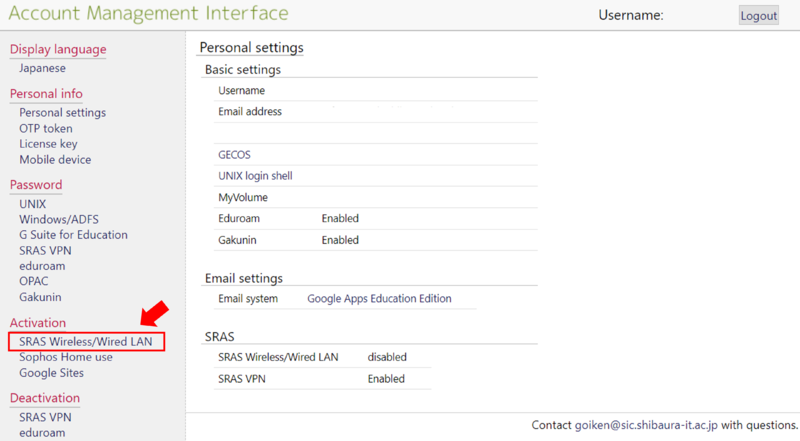
1.1. Log into AMI, then click on SRAS Wireless/Wired LAN under activation
You can access AMI from ONLY campus network. You have to connect to SRAS VPN before access AMI from other networks.
2. Wireless network settings
2.1. Click the Wireless network connection icon at the bottom right of the taskbar and select "SRAS 5G",or "SRAS 2G"
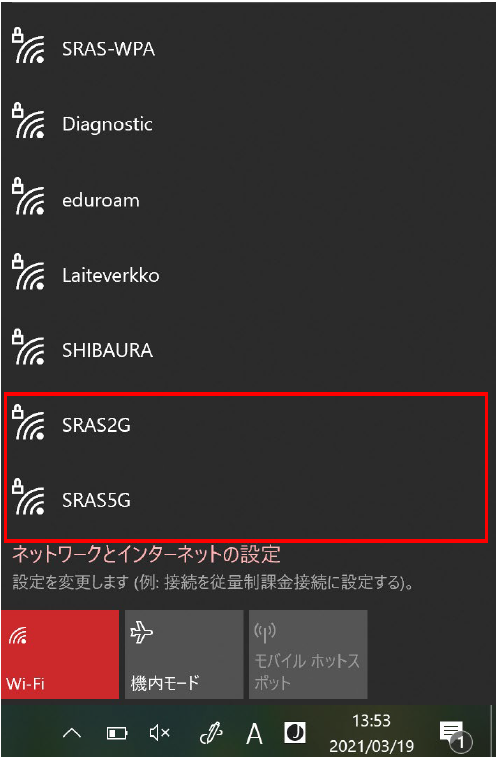
| SRAS 5G |
Supports IEEE802.11a(5GHz). It is not susceptible to radio wave interference and is fast, but the usable range is narrow. Use this if you can connect. |
| SRAS 2G |
Supports IEEEB02.1 b/g(2GHz). Use this if you have problems with SRAS 5G on devices that do not support 5GHz. |
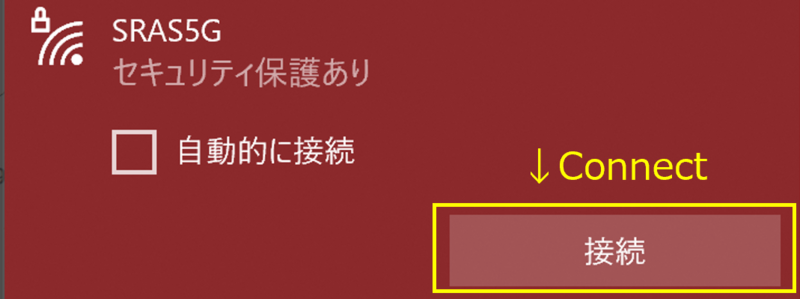
2.2. Select a destination and click “Connect”. (if you put a beauty check in “Automatically connect”, it will be connected automatically when it enters the antenna range of SRAS wireless LAN.)
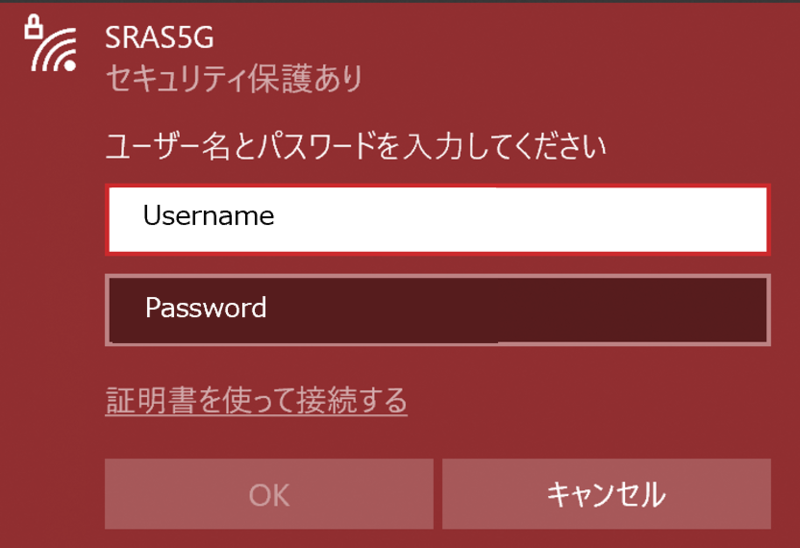
2.3. After entering each field, click “OK”.
-
Username : Account name of the Center of Science Information
-
Password : Password registered in SRAS wireless LAN with AMI First graders have the same password as ScombZ.
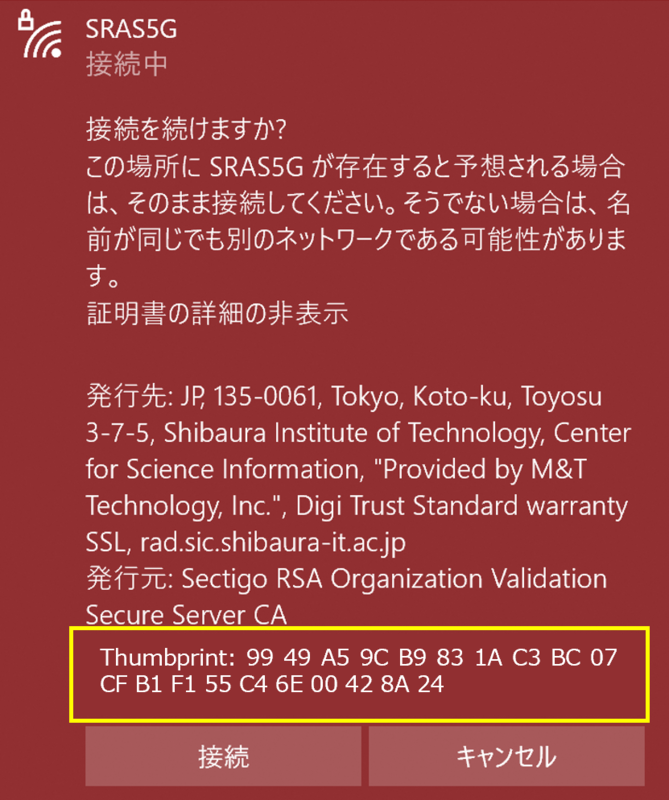
2.4. Click “Show details of certificate”, check that thumbprint displayed is the same as the one below, and then click “Connect”.
Thumbprint :99 49 A5 9C B9 83 1A C3 BC 07 CF B1 F1 55 C4 6E 00 42 8A 24
※ If the thumbprint is different, do not click “Connect”.
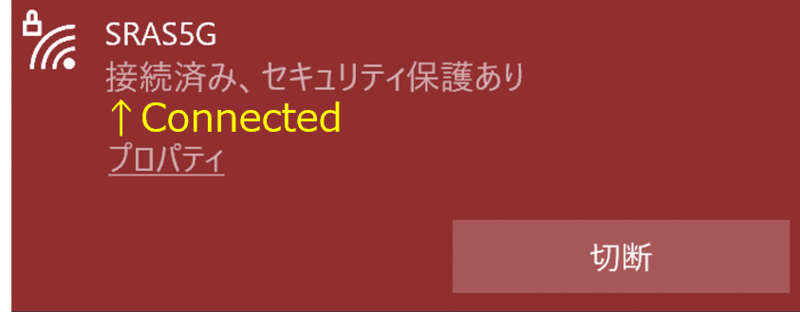
2.5. Click “Connect” and when it becomes “Connected”, the connection is complete.