
Home > Service > Network > SITNET > DHCP automatic acquisition setting (Windows)
DHCP automatic acquisition setting (Windows)
Updated 2020/10/21
When you receive the written consent, connect to SITNET by "Automatically acquire" the network settings of the connected computer.
Click "Window" at the bottom left of the screen and click "Settings".

Click "Network and Internet" .

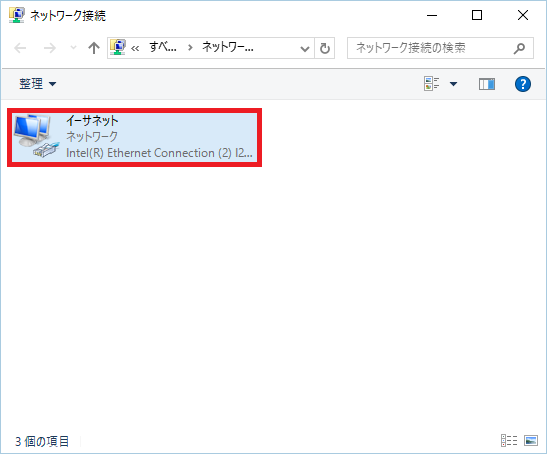
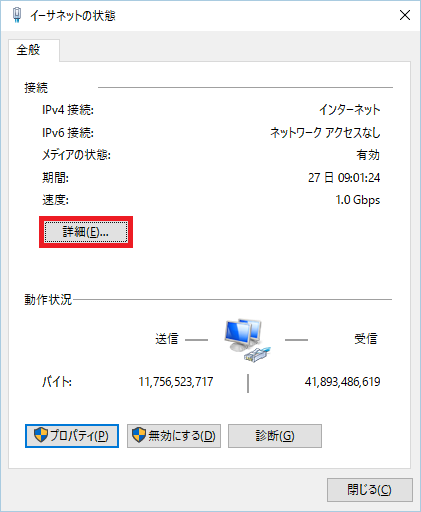
Double-click the "Ethernet" icon.
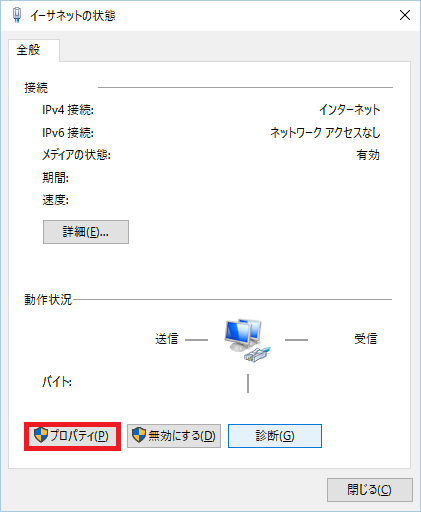
Click "Properties".
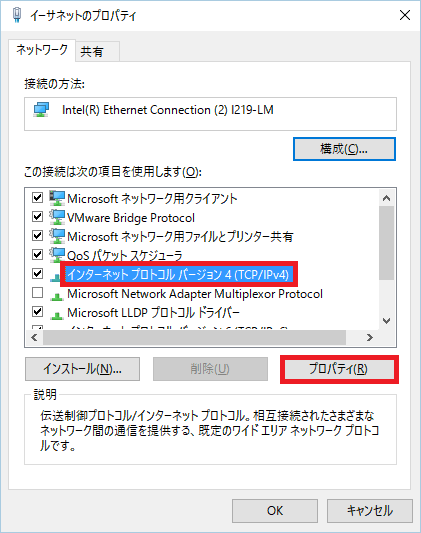
Select " Internet Protocol Version 4 (TCP/IPv4)" and click "Properties".
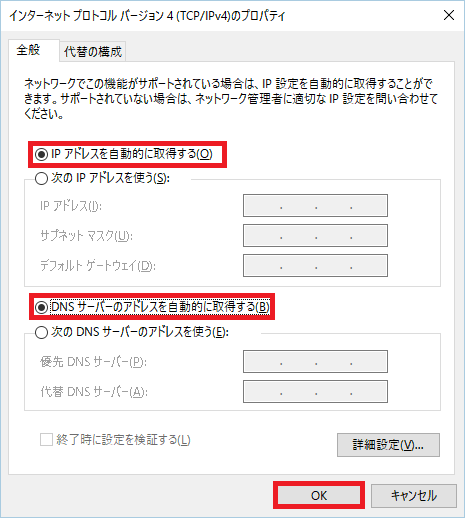
Select "Obtain an IP address automatically" and "Obtain DNS server address automatically" and click "OK".
Click the "Detail" button to display the IP address received from the DHCP server.
Click the "Close".