
Home > Services > Accounts & Authentication > Microsoft 365 Multi-Factor Authentication > How to Set Up Microsoft 365 Multi-Factor Authentication
How to Set Up Microsoft 365 Multi-Factor Authentication
2025/12/12 Updated
Starting from October 2025, multi-factor authentication (MFA) has become mandatory for almost all systems related to our university.
By using MFA, you can reduce the risk in case of password leaks.
|
※If you change your smartphone, you need to register the new device in Microsoft Authenticator. Before changing devices, connect your current device to the network (e.g., Wi-Fi) and follow the steps in How to Transfer Microsoft 365 Multi-Factor Authentication to register your new device. If your current device is unavailable, a manual reset is required. |
It is recommended to have both a PC and a smartphone ready for registering MFA (smartphone is required).
Please prepare them before starting.
In the instructions below, the following icons indicate the device to use:
indicates a PC operation or screen.
indicates a smartphone operation or screen.
| Table of Contents |
1.Install Microsoft Authenticator App (Smartphone)
1.1 Scan the following QR code with your smartphone to install the Microsoft Authenticator app.

※After installation, open the app once and tap "Continue" or similar until the "Add Account" screen appears.

2.Access ScombZ (PC)
2.1 Go to ScombZ and sign in.
URL: https://scombz.shibaura-it.ac.jp
Username: Gakujou ID@sic
Password: Windows password
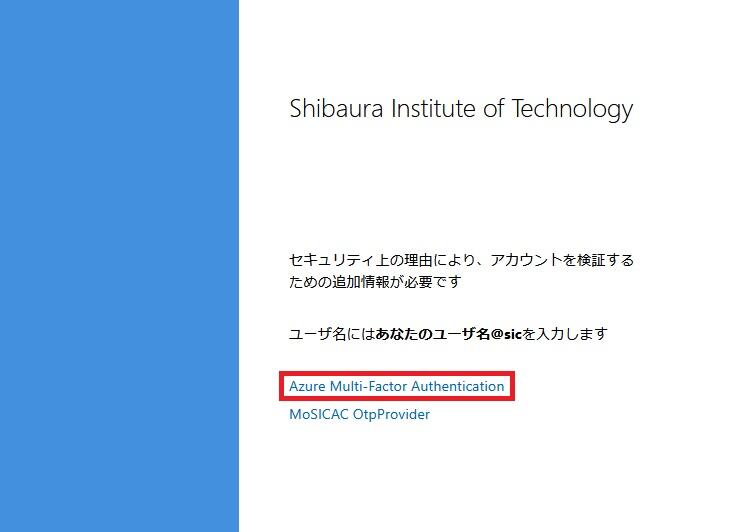
2.2 Click "Azure Multi-Factor Authentication".
2.3 If MFA is not registered, you will be automatically redirected to the registration page.
If not redirected, click the "here" link on the screen.

2.4 Confirm that the address indicated by the red arrow is your Microsoft account used at the university.
If confirmed, click "Continue".
※If it does not appear, proceed to the next step.

2.5 When the following screen appears, click "Next".

2.6 When the following screen appears, click "Next".

2.7 Proceed to the next step when the screen below is displayed.

3.Add Account to Authenticator (Both PC and Smartphone)
3.1 Open the Microsoft Authenticator app and add a new account.
Tap the "+" icon at the top right
Select "Add Account".
3.2 Select "Work or School Account".

3.3 Select "Scan QR Code".

3.4 Allow camera access and scan the QR code displayed on the PC in step 2.6.
Then, allow notifications.
※If notifications are not allowed, MFA cannot be used.
3.5 Scan the QR code displayed on the PC with your smartphone. A two-digit code will appear on the PC.
Follow the on-screen instructions and enter the two-digit code in the app, then tap "Yes".

If the PC displays the "Name your app password" screen afterward, set a name with 8 to 16 characters and follow the instructions.
3.7 Microsoft Authenticator sign-in registration is complete.