Home > Service > Printing > Printing from office support terminal > Add Printer (Clerical PC・Remote clerical PC)
Add Printer (Clerical PC・Remote clerical PC)
Updated 2023/10/07
Log in to the clerical PC.
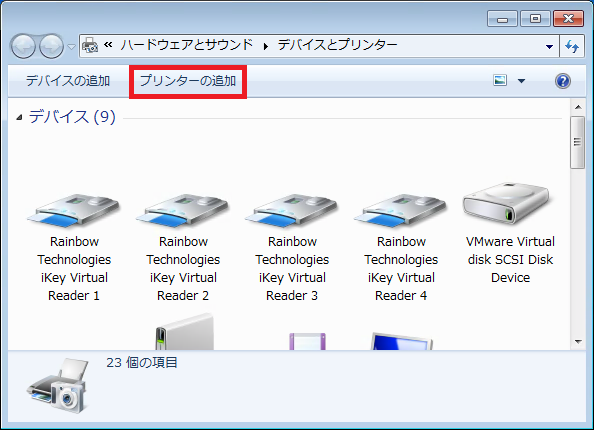
Select "Devices and Printers" from the "Windows" menu.
Click the "Add Printer" button.
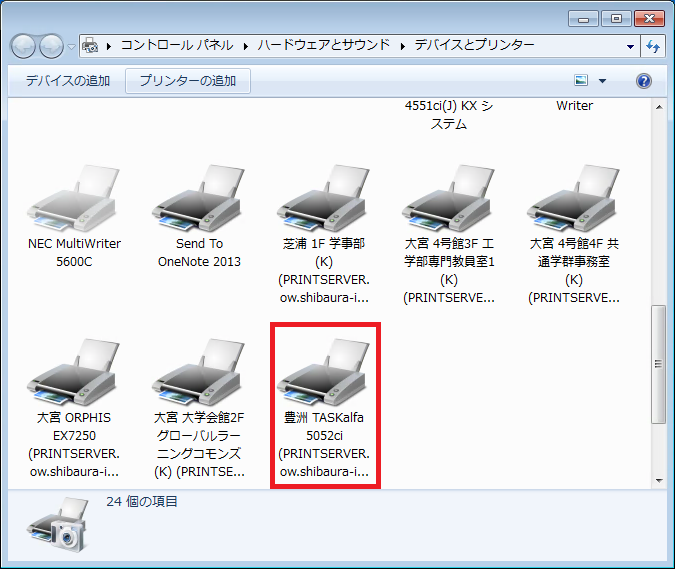
Select the printer name you want to print out by clicking on it, and click "Next".
※ There is a difference in the way of printing depending on the printer name.
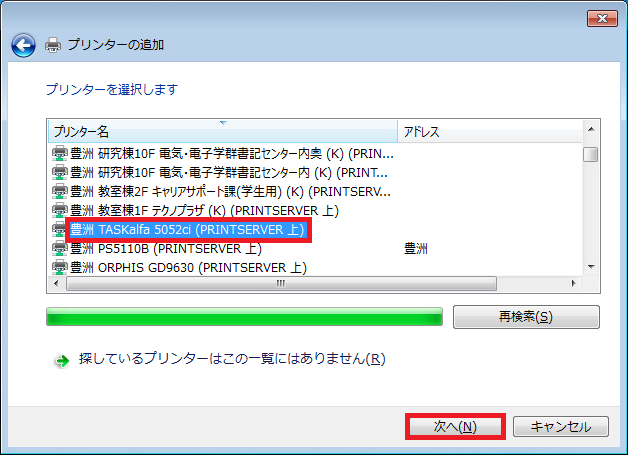
| Printer name (example) | type of equipment | Meaning of printer name | Printing method |
| Toyosu Research Building 10F Electrical and Electronic Science Group Clerk Center (K) (On PRINTSERVER) | Multi-function printer |
"Toyosu Campus" |
Direct printing |
| Toyosu TASKalfa 5052ci (On PRINTSERVER) | Printer Multi-function printer |
"PC practice room, I/O room of Toyosu Campus" |
Hold the IC card and print |
| HP Design_Jet Z5600PS HPGL2 (On PRINTSERVER) |
Plotter |
"I / O room, I / O corner of all campuses" |
Hold the IC card and print |
| Omiya ORPHIS GD9630 PS (On PRINTSERVER) | Printer |
"I / O room, I / O corner of Omiya campuses" |
Hold the IC card and print |
Click "Next".
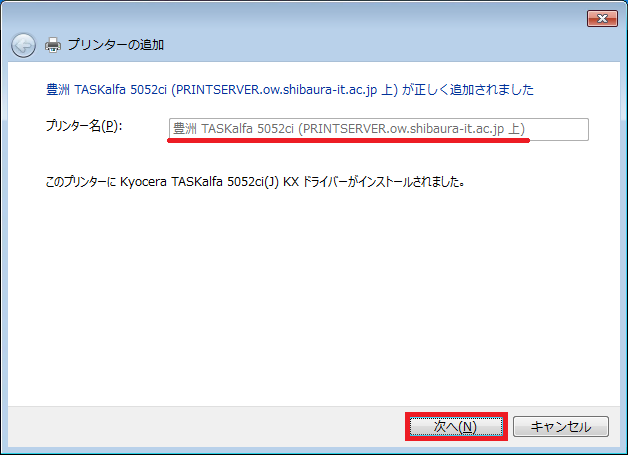
Click "Finish".
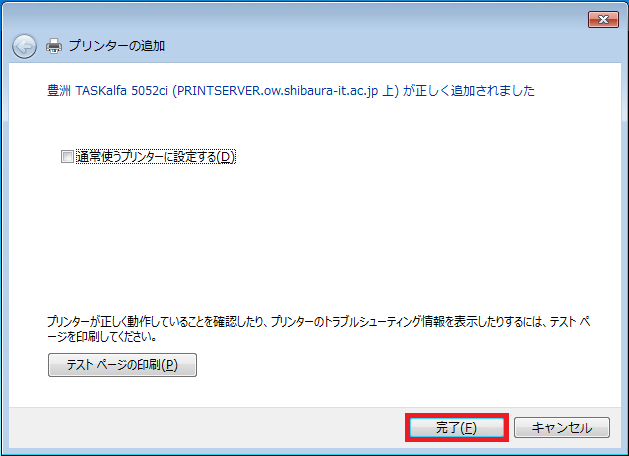
Printer has been added.