Home > Service > Research Support > Guest Wireless LAN > Guest Wi-Fi Connection Manual
Guest Wi-Fi Connection Manual
Updated on 2024/2/10
Windows
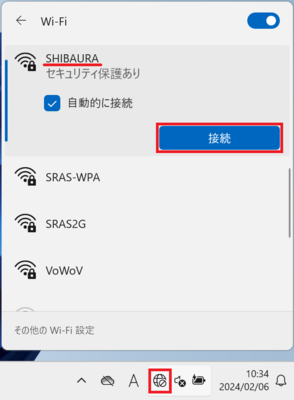
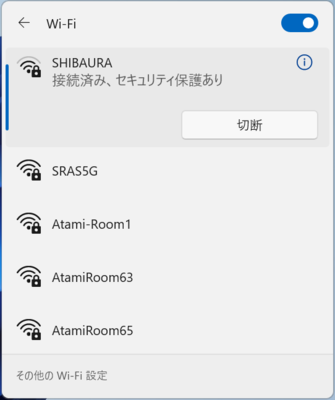
1. Click on the network icon stored in the taskbar, select "SHIBAURA" from the list of wireless network connections, and click the "Connect" button.
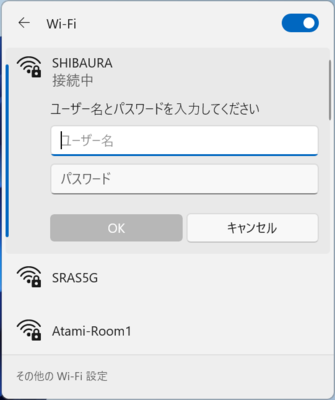
2. Enter the provided "User Name" and "Password", and then click the "OK" button.
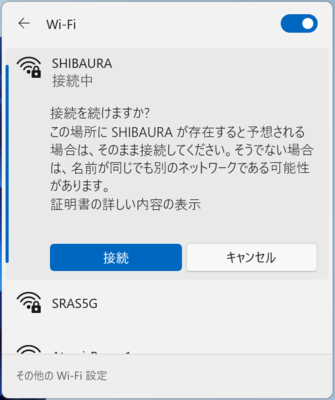
3. Click the "Connect" button. Once "SHIBAURA" is connected, you will be able to access the internet.
MacOS
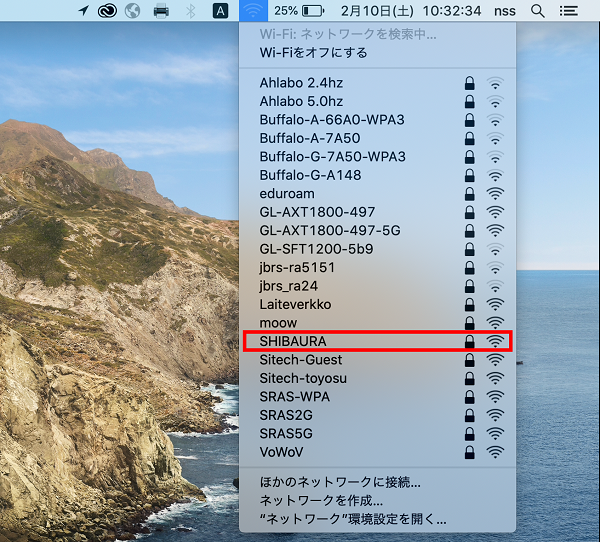
1. Click the Wi-Fi icon on the menu bar and select "SHIBAURA" from the list of wireless network connections.
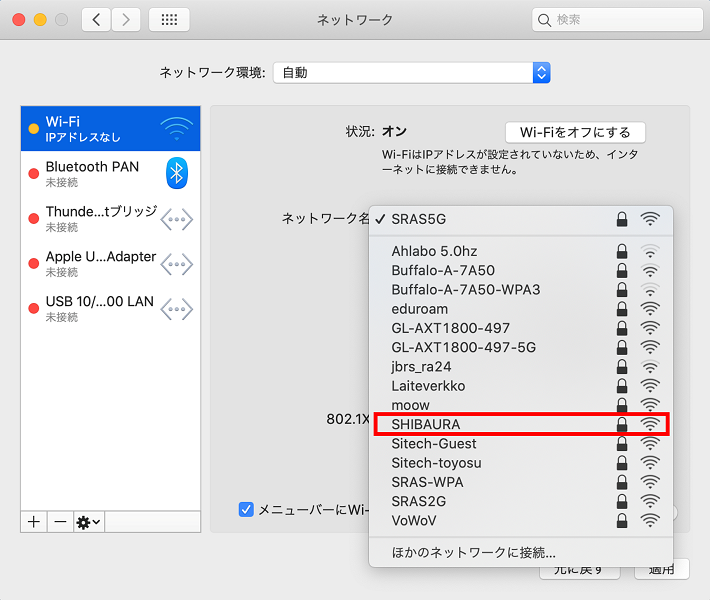
If you do not see the Wi-Fi icon in the menu bar, click the Apple logo, and open "System Preferences" > "Network",
and from the "Wi-Fi" tab, select "Network Name" to display the list of wireless network connections and select "SHIBAURA".
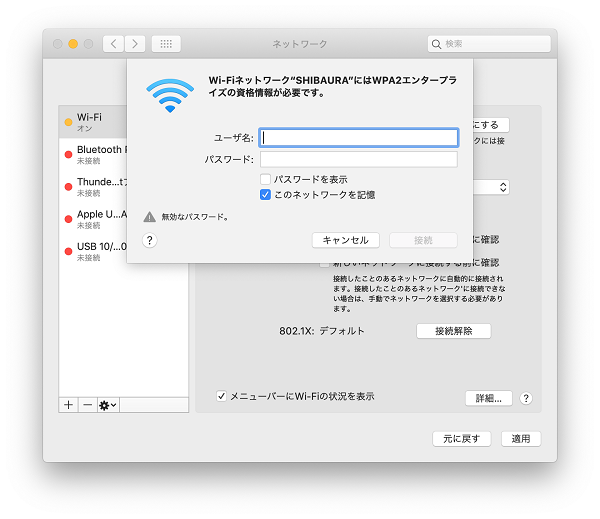
2. Enter the "User Name" and "Password" provided and click the "Connect" button.
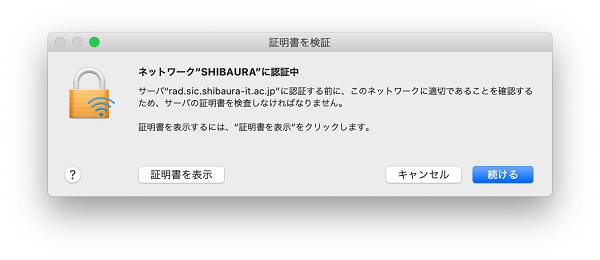
3. After seeing the certificate, click "Continue".
4. Open the list of wireless network connections following the same procedure as step 1, and once "SHIBAURA" is connected, you can access the Internet.
Android
1. Tap "Settings" from the menu to open it, then tap "Wi-Fi".


2. Tap "SHIBAURA" from the Wi-Fi list.

3. Enter and configure as follows, then tap the "Connect" button.
・"Identity" & "Password" ⇒ As provided.
・"CA certificate" ⇒ Select "Use system certificates".
・"Domain" ⇒ Enter "shibaura-it.ac.jp".
*Other settings do not need to be changed.

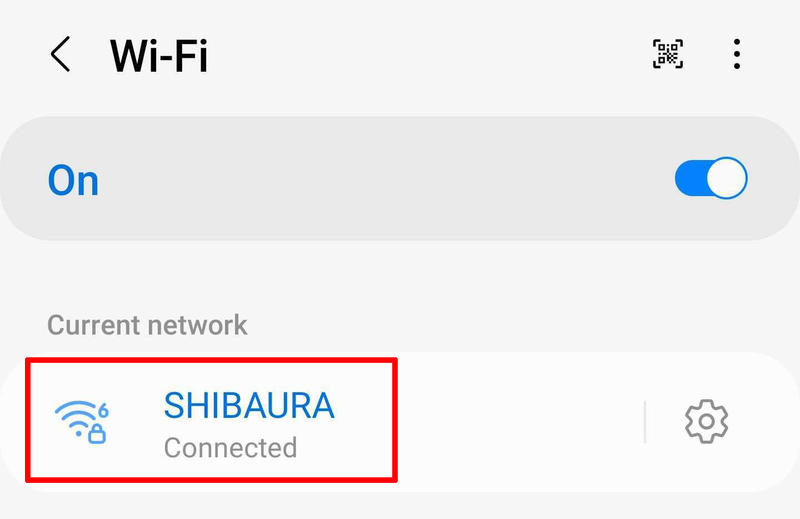
4. Once "SHIBAURA" is connected, you can access the Internet.
iOS
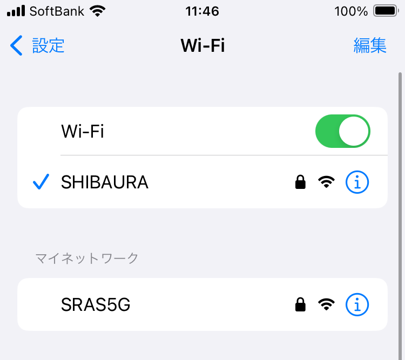
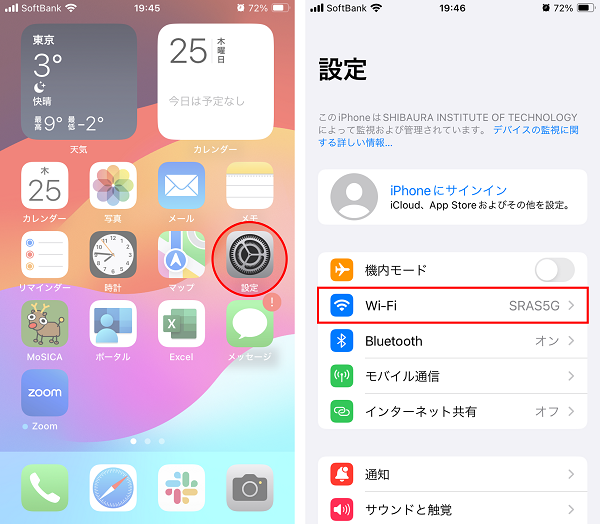
1. Tap "Settings" from the home screen, then tap "Wi-Fi.
2. Tap "SHIBAURA" from the Wi-Fi list.

3. Enter the "User Name" and "Password" provided and tap "Connect".

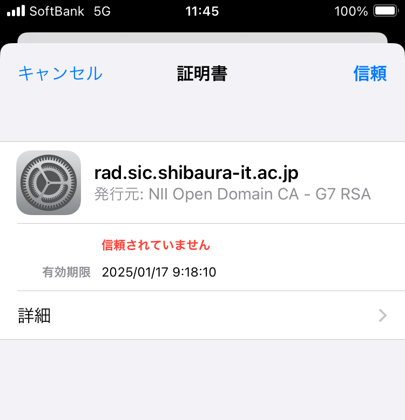
4. After seeing the certificate, tap "Trust".
5. Once "SHIBAURA" is connected, you can access the Internet.