
Home > Service > Class support > Online Classes > Publishing lecture video OneDrive
Publishing lecture video OneDrive
Updated 2023/10/20
|
Notes on sharing lecture videos on OneDrive Lectures on OneDrive can be seen by people outside of SIT. When sharing, please decide viewing period of the video, or delete the sharing URL. |
■Table of Contents
3.Add and remove individual viewable users
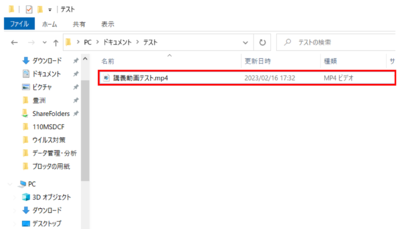
0.Preparing video
※ As of now, Videos uploaded to OneDrive can't be trimmed on the web.
Please edit the video before uploading it.
※ If you edit the video using applications other than Clipchamp, errors like the one shown in the image below may occur, so please be careful.

Editing software examples:
Windows10: Video Editor
Windows11: Clipchamp
Create films with a video editor (microsoft Tutorial)
https://support.microsoft.com/en-us/windows/%E3%83%93%E3%83%87%E3%82%AA-%E3%82%A8%E3%83%87%E3%82%A3%E3%82%BF%E3%83%BC%E3%82%92%E4%BD%BF%E7%94%A8%E3%81%97%E3%81%A6%E6%98%A0%E7%94%BB%E3%82%92%E4%BD%9C%E6%88%90%E3%81%99%E3%82%8B-94e651f8-a5be-ae03-3c50-e49f013d47f6
Mac: iMovie
Trim and arrange videos using iMovie
https://support.apple.com/ja-jp/HT210430
1.Sharing video
1.1 Access OneDrive
Access OneDrive using the link below.
https://onedrive.live.com/login/
Confirm Username and Password, then login
Username:username@sic.shibaura-it.ac.jp
※Don't forget to add[sic]before the @ mark.
Password:Windows Password(Same password with password used when loggin into ScombZ)
1.2 Make a folder for sharing videos
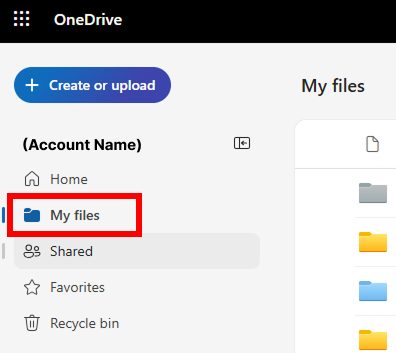
1.2.0 Change the item under the name in the upper left corner to "My files".
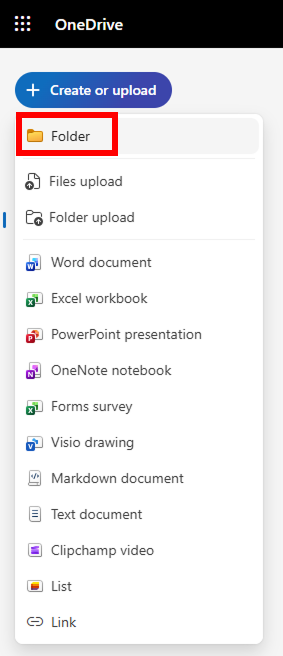
1.2.1 To create a folder for each class and share by folder
, click the "+ New" button from the menu at the top of OneDrive, then click "Folders".
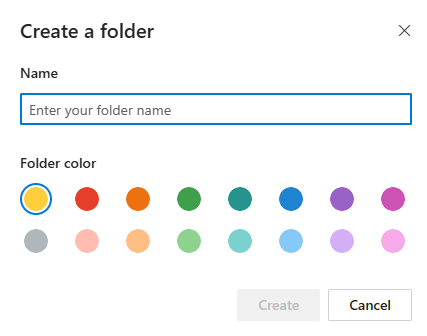
1.2.2 A pop up[Create a folder] will appear. Here, input the name of the folder and click [Create] to create the folder.。
1.3 Upload lecture videos
1.3.1 From the top menu, click [Upload].
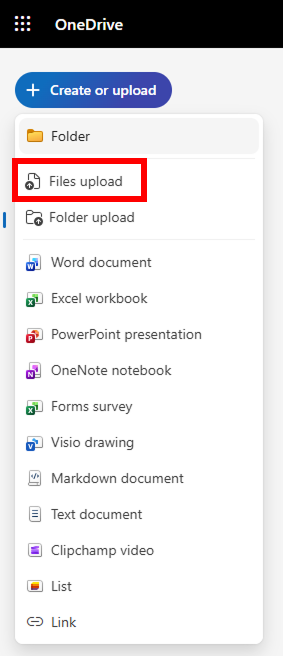
1.3.2 Open the folder of the lecture video file and drag the file or
click the [Upload] button and click the file to be uploaded.
1.4 Check the lecture group
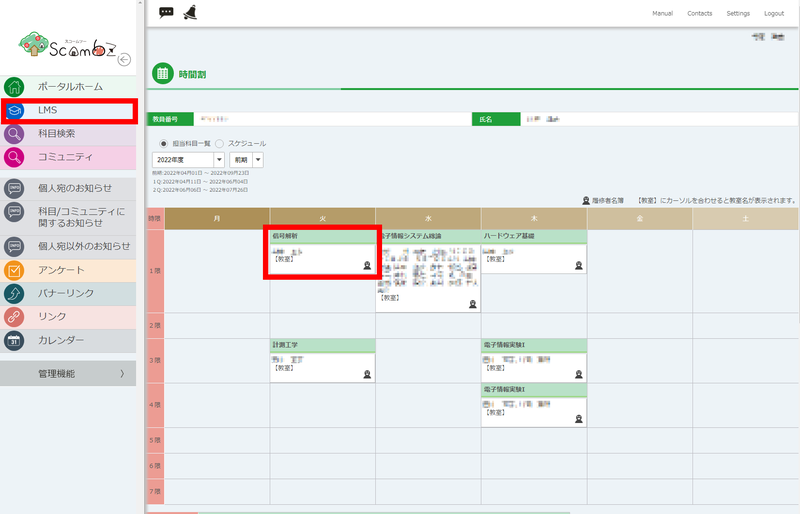
1.4.1 After you have finished uploading items, check the lecture group in ScombZ.
Click [LMS], and choose the Lecture.
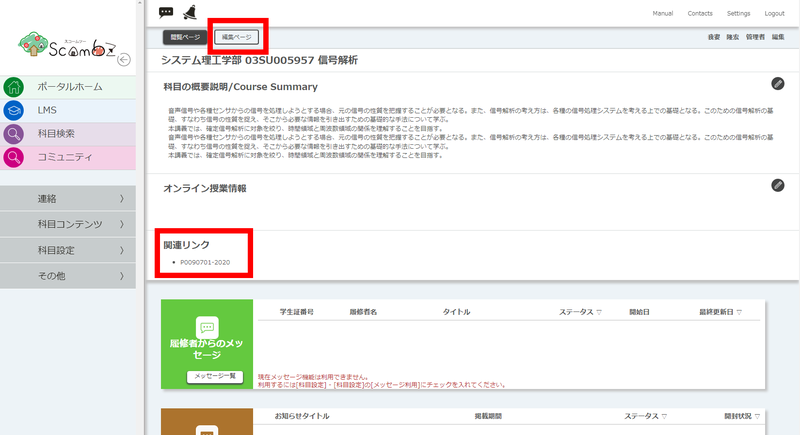
1.4.2 On the "Edit Page", click on "Class Groups" under "Related Links" on the left to display the class groups,
Copy this code.
The group will not be displayed on the [View Page]
1.5 Set up sharing
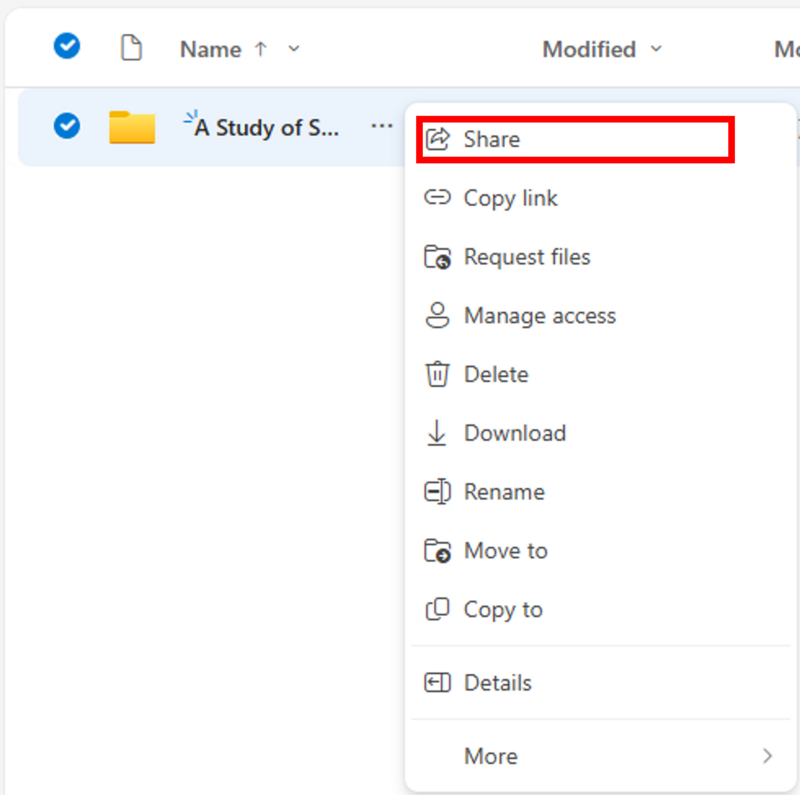
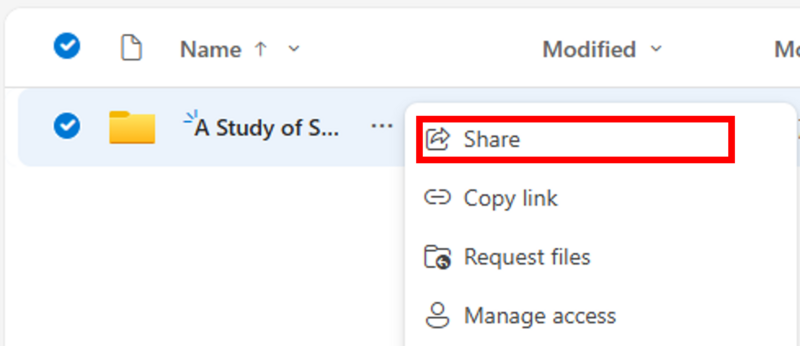
1.5.1 Right-click on the folder created in "1.2 Create a folder for sharing" or click on the three-point reader.
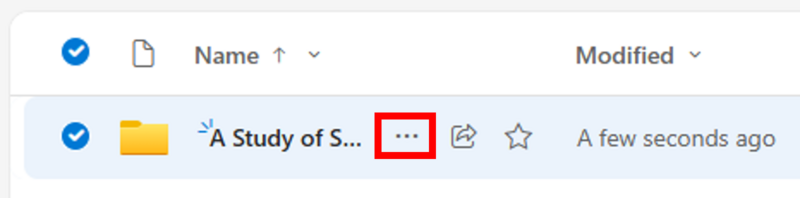
1.5.2 Select [Share] from the pop up menu.
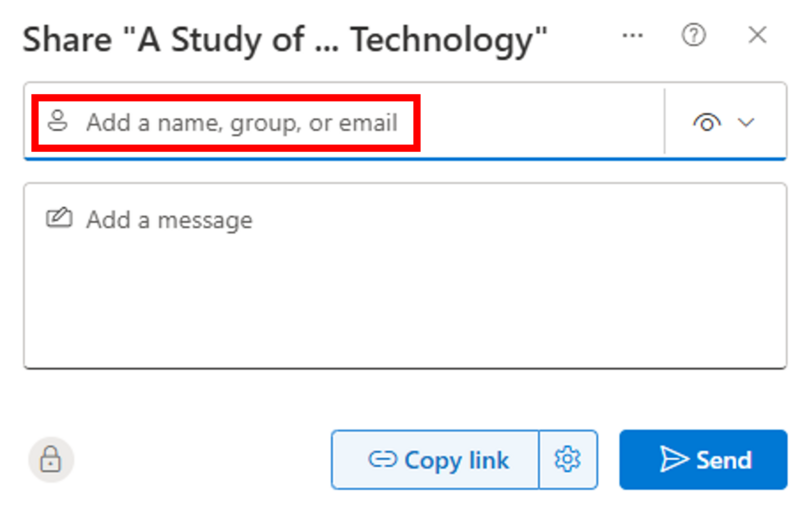
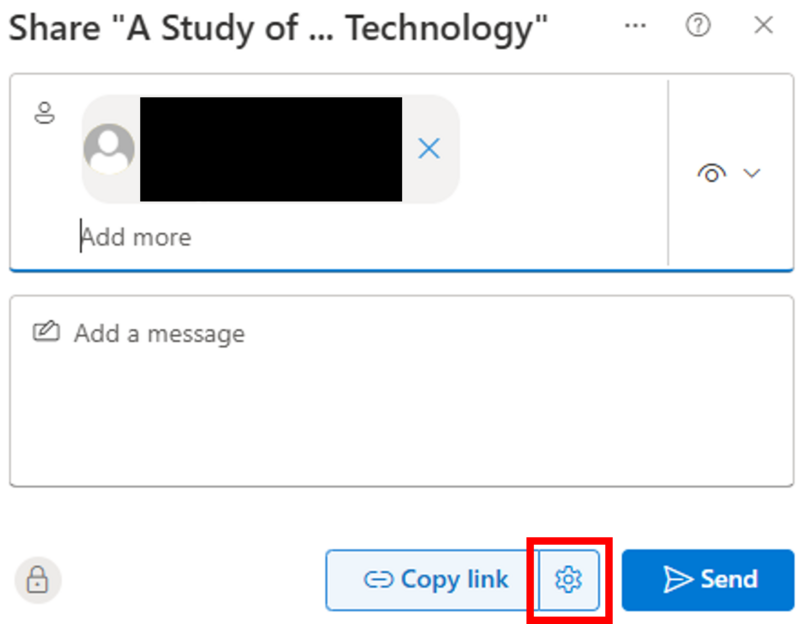
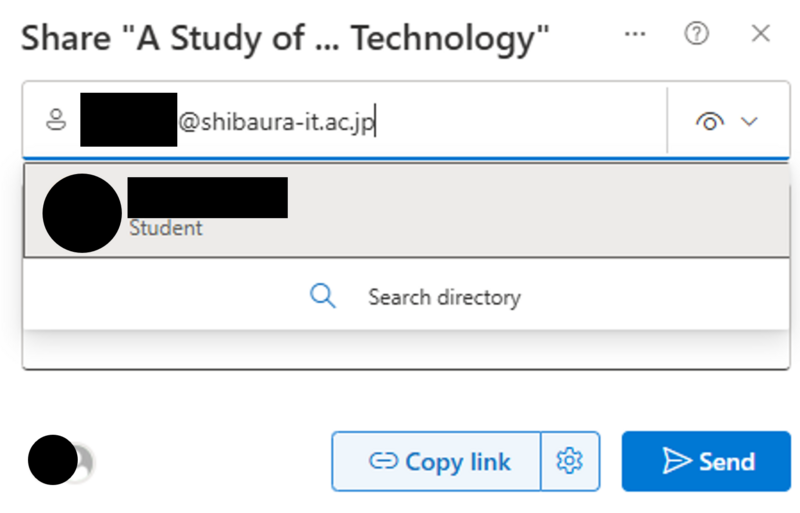
1.5.3 On [Share 〇〇] window, select users to share with.
1. On the recipient, enter the Lecture code that is checked in [1.4 Check the lecture group]
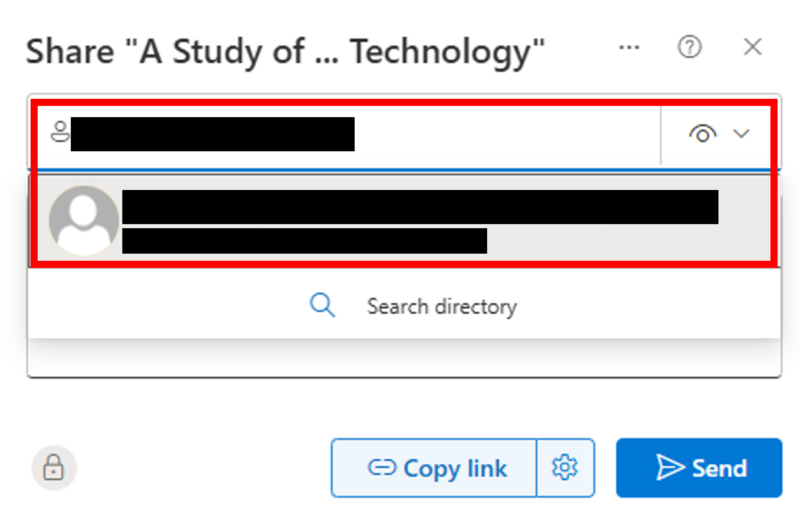
2. Click the name of the lecture that appear in the list.
3. Share it to the lecture group.
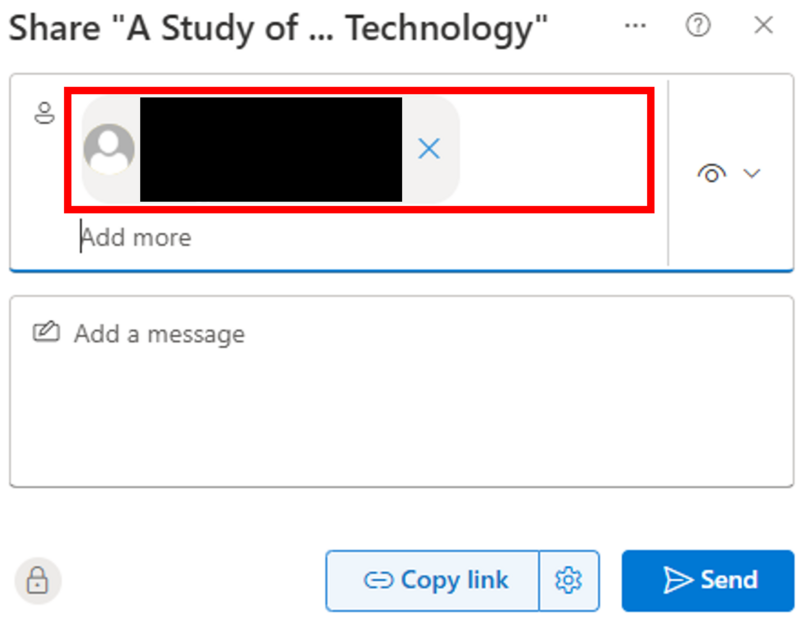
1.5.4 Click the settings(gear shaped) icon. When the [Sharing settings] windows appears, set it as below.
・Under [Other Settings], select [Can't download] (selecting any other option will allow the lecture video to be downloaded).
※Without this settings, the lecture video might be downloaded
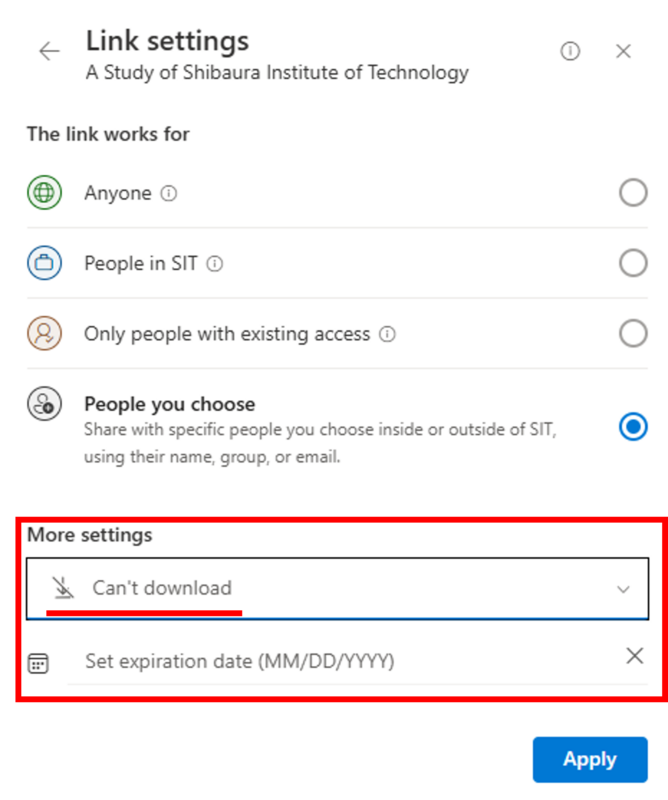
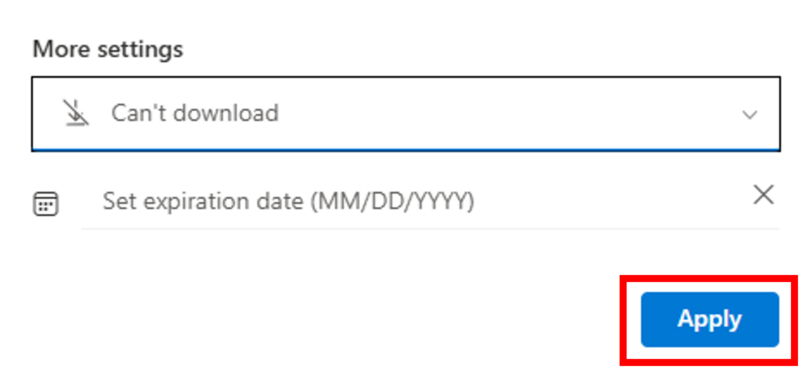
1.5.5 After the setting is done, click [Apply].
1.5.6 Click the copy button the bottom.
The copied link will be copied to the dashboard so that you can inform users of the copied link in any way you wish.
【Notes】
※Access rights to the user will not be granted unless the copy button is pressed.
※"The specified user who has this link can view, but not download." Please make sure that the display shows
※Do not press [Send] button.

2. Confirming sharing
2.1 To confirm sharing
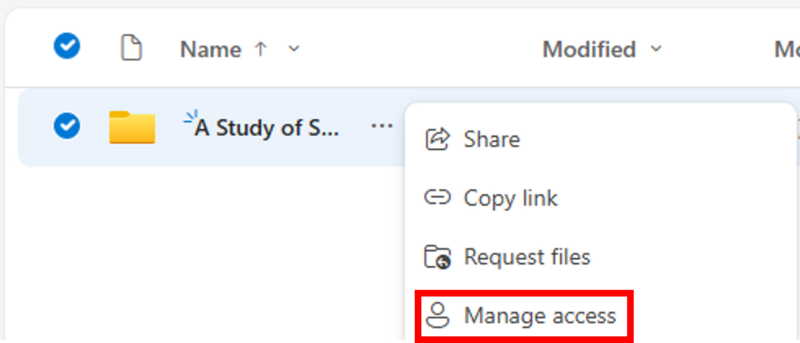
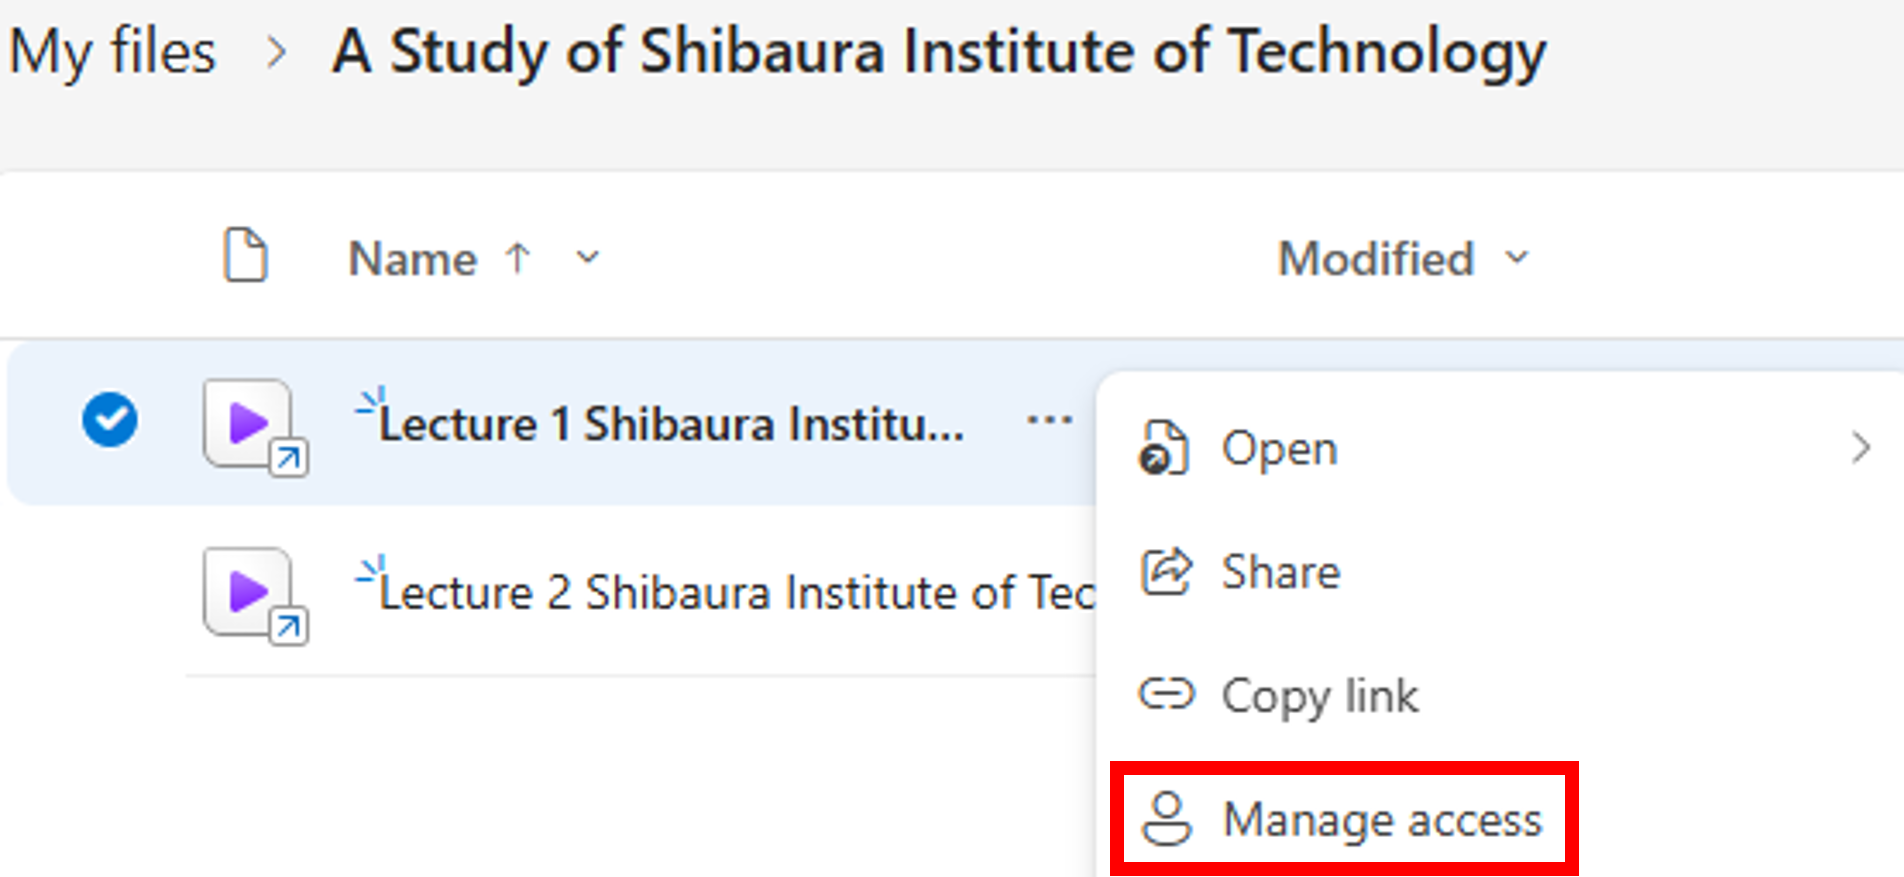
2.1.1 To confirm the shared item, click the 3 button menu.

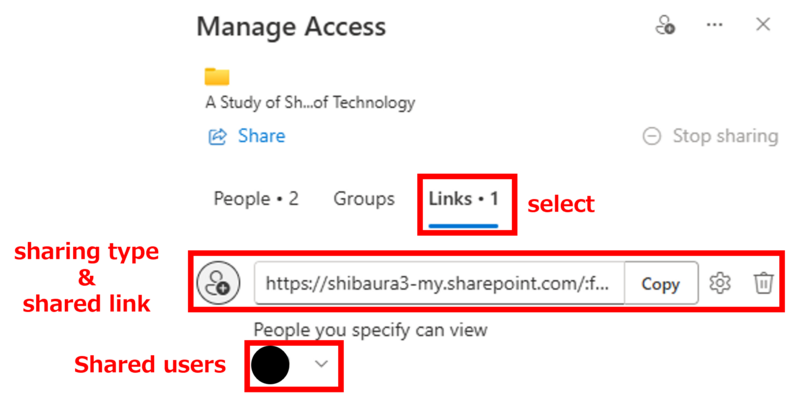
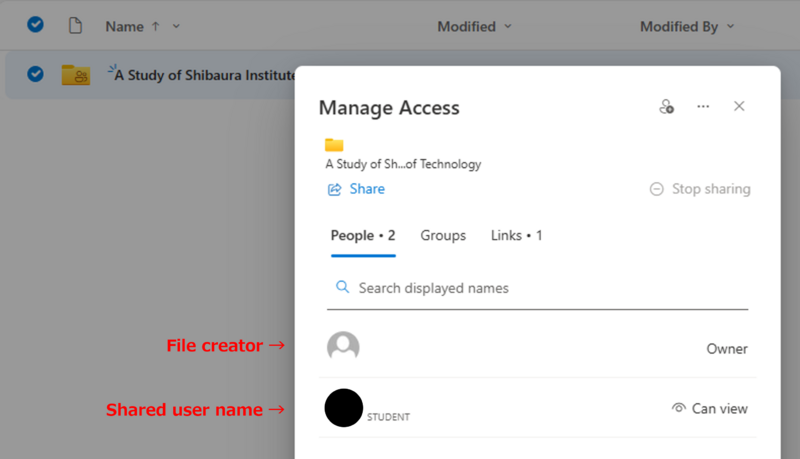
Click [Manage access permit] button.
2.1.2 On [Manage access permit] window, type of shared link, and shared users can be confirmed.
By clicking
※[Direct access] can only be seen by the owner of the item.
※You can also set a disable download by pressing the gear icon next to the link.
※From the bottom of the link, you can check to see if the link you shared is prohibited for download.
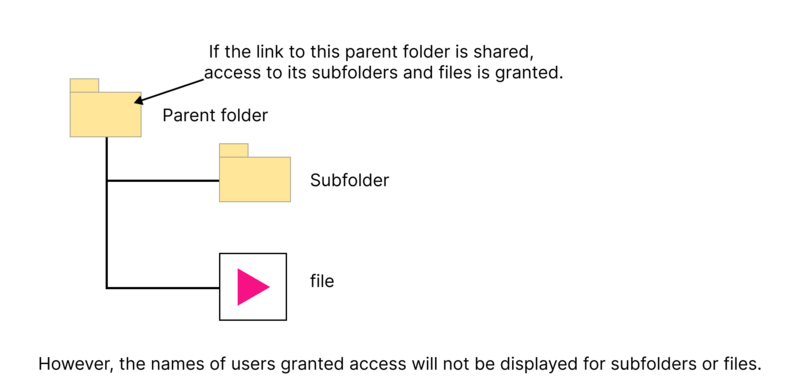
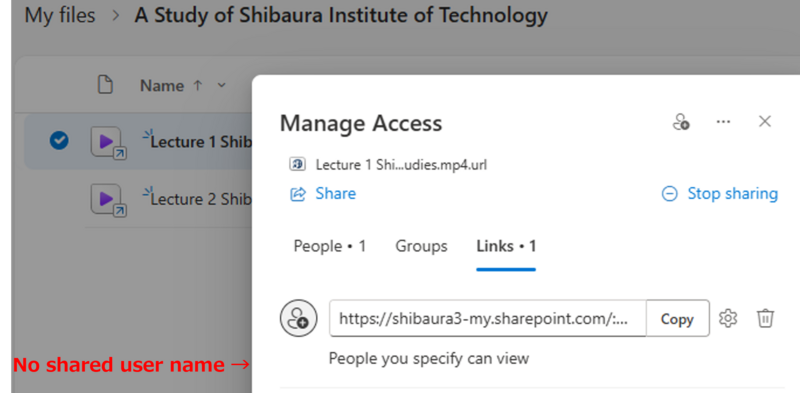
2.2 Notes on sharing confirmation (shared user view)
Shared users in the parent folder have access to the child files in the lower level, but they cannot see the users who are sharing from the child files.
2.2.1 Grant access rights to the parent folder.
Click on Manage Permissions to confirm that it is shared.
2.2.2 Click on Manage Child File Permissions at the bottom level of the folder.
2.2.3 The Manage Access that appears after clicking does not list the user who should have been granted access rights in the parent folder.
However, the added user is still listed in the parent folder's access management, so the child files in the folder's lower level can be accessed.
3. Add and remove individual viewable users
3.1 Add users
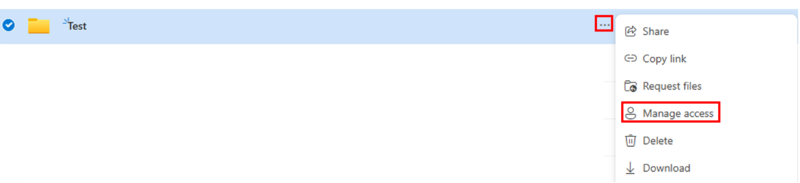
3.1.1 Right-click on the uploaded video or click on the three-point reader and click on [Manage Permissions].
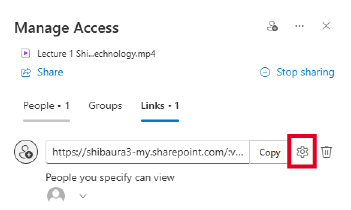
3.1.2 Click the gear icon on the [Manage Permissions] screen link.
3.1.3 Enter the email address of the user (SIC ID@sic.shibaura-it.ac.jp) to be added, and click [Apply].
※ If you enter "SIC ID@shibaura-it.ac.jp," the target user will not be displayed.
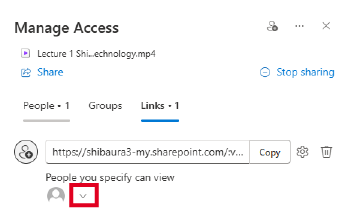
3.2 Remove Users
3.2.1 Click on the red boxed area on the [Manage Permissions] screen link.
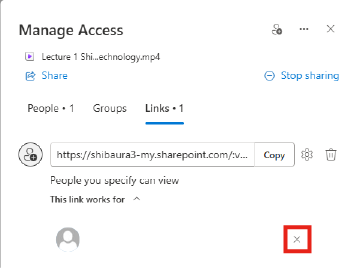
3.2.2 Click × right next to the user you want to delete.
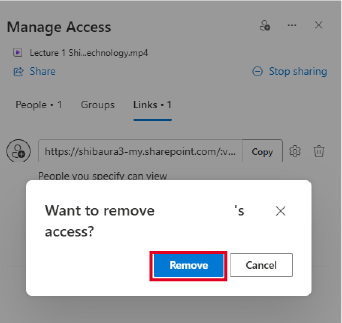
3.2.3 Click remove
4. Stop sharing
Open OneDrive and check the folder to be stop sharing.

Click the three-point button,「and click [Manage access permit].
Click the [...] on the right side of the link.
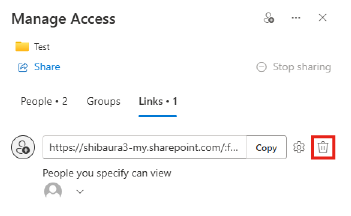
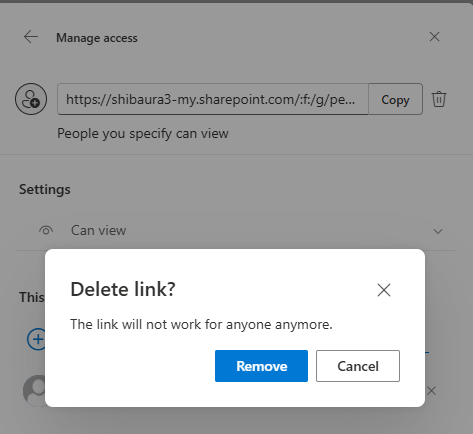
After clicking the [...] button, a [Delete this link ?] window will be shown. Then click [Delete Link] to delete the sharing link.
Now, all users will now be unable to access the link.
※ Editing in Clipchamp
You can edit the video by trimming it using the controls on the right side of the screen.
