
Home > Service > Business Support > SIT STATION > Grant permissions to TAs
Grant permissions to TAs
1. Get access to Talent
1.1 Log in to Station
| Username | Your Center for Science Information's ID |
| Password |
UNIX Password |
1.2 Click on the "Talent トップへ" (Talent) icon.

2. Get access to your class page
2.1 Click on "担当科目情報" (Course Information) icon.

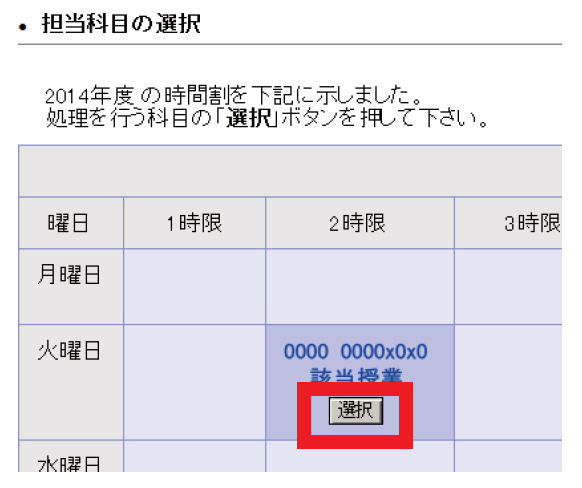
2.2 A list of your all classes will be displayed. Click the "選択" (Select) icon for the class what you're interested in.
3. Manage students who takes your class
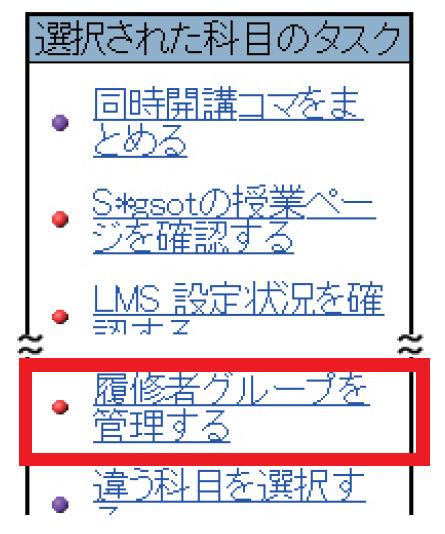
3.1 From the "選択された科目のタスク" (Tasks for selected course) menu, click on "履修者グループを管理する" (Manage student groups) icon.
3.2 Select your target from the drop-down box and click on "簡単追加" (Add easily) icon.

3.3 Confirm the list of student groups will be added.

*If the expiration date has passed, the account will be removed automatically from the student group.
If you make a mistake or would like to remove an existing accout, Check "Delete".
3.4 Click on "変更を適用" (Apply changes) icon button and then click the "はい" (Yes) icon in the confirmination window to apply the changes to the student group.
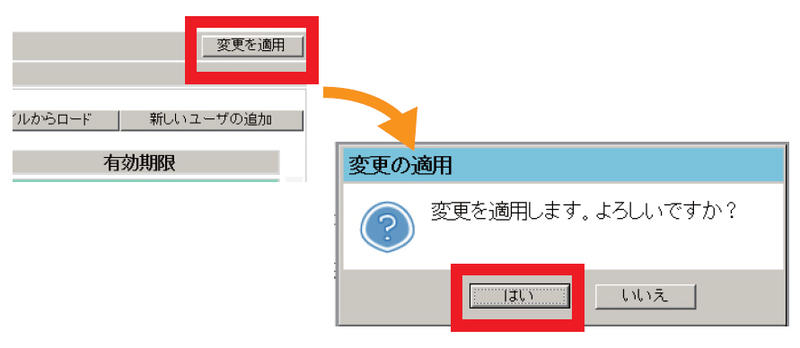
*The same applies to changes such as changing the expiration date or removing items.
ex. In case of adding on each user (The procedure is the same up to 3.1)
e1 Add multiple students at the same time
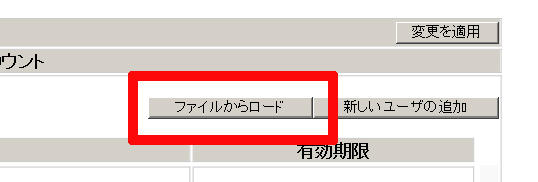
e1.1 Click the "ファイルからロード" (Load from file) icon button
e1.2 The upload screen will be displayed. Select the file you'd like to load and click the "送信実行" (Send) icon.

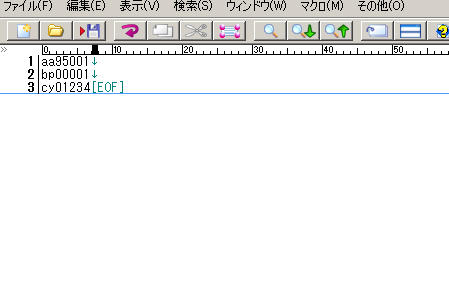
*Create the file using a text editor, etc., and separate users with line breaks.
Example: A file created with an editor
e1.3 Check users you'd like to add (If you'd like to add all users, check the box under "追加" (Add) icon).
Click the "このウィンドウを閉じる" (Close this window) icon button to close the window.

*Confirm that the selected user has been added to former window.
e1.4 Click the "変更を適用" (Apply changes) icon, and then click the "はい" (Yes) icon in the confirmination window to apply the changes to the student group.

e2 Add one user at a time
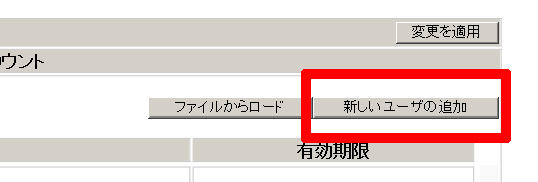
e2.1 Click the "新しいユーザの追加" (Add new user) icon.
e2.2 Search the user by username or name, check the displayed user-information.
Click the "このウィンドウを閉じる" (Close this window) icon to close the window.
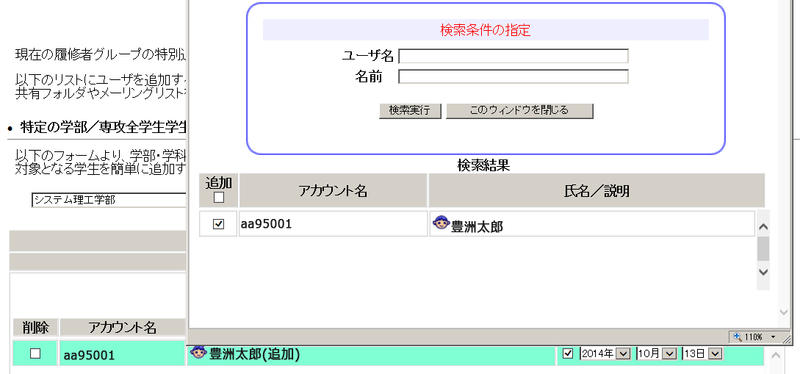
*Confirm that the selected user has been added to former window.
e2.3 Click the "変更を適用" (Apply changes) icon, and then click the "はい" (Yes) icon in the confirmination window to apply the changes to the student group.
