Home > Service > Class support > Online Classes > Record your online classes
Record your online classes
Updated 2020/12/04
Here shows how to record your online classes and download the data.
We introduce the Microsoft Stream how to publish the data. Please delete the data in Zoom after you publish.
|
You can save the recorded data in the cloud if you have the educational licenses. |
0.Start the online classes (meeting) .
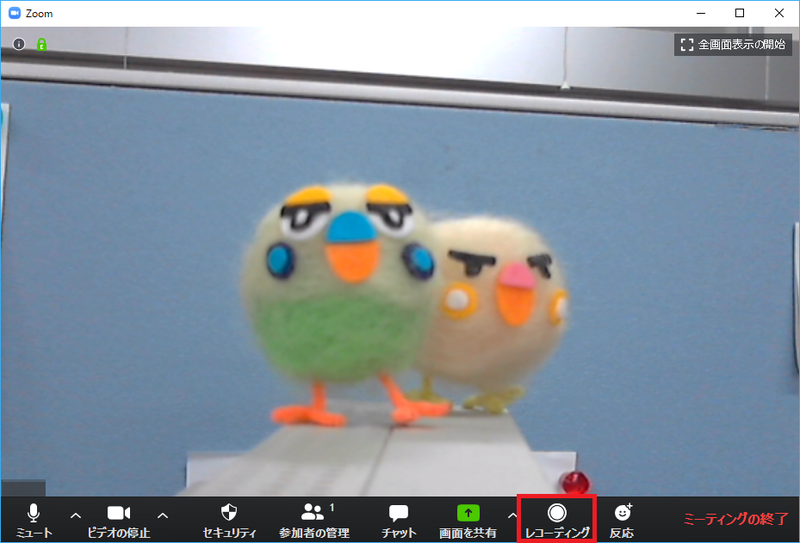
1.After you start the meeting, click "recording" to record.
※You do not need to click it in the case of having been checking "auto-recording in the cloud" when you make the meeting schedule.
※They are set to be saved in the cloud.
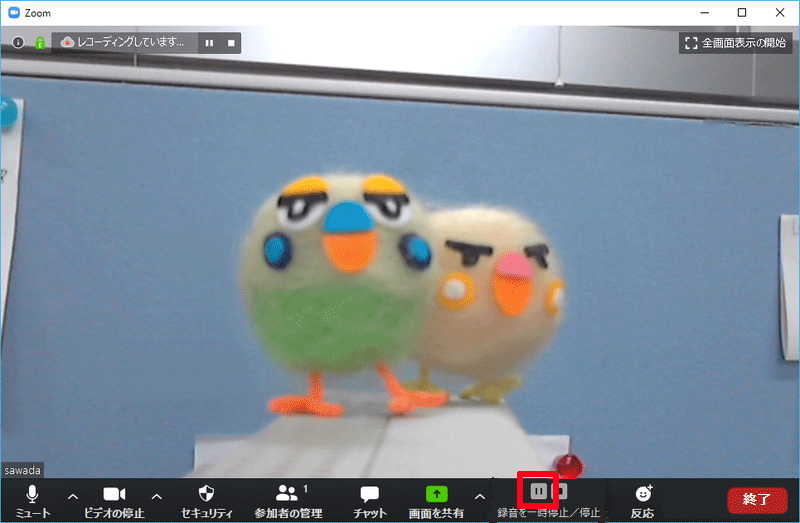
2.You will see "recording" at the top left of the window when you start the recording.
3.Click the pause button when you want to stop recording.
Click the play button when you want to start recording again.
※You will see "pause recording" at the top left of the window during the pause.
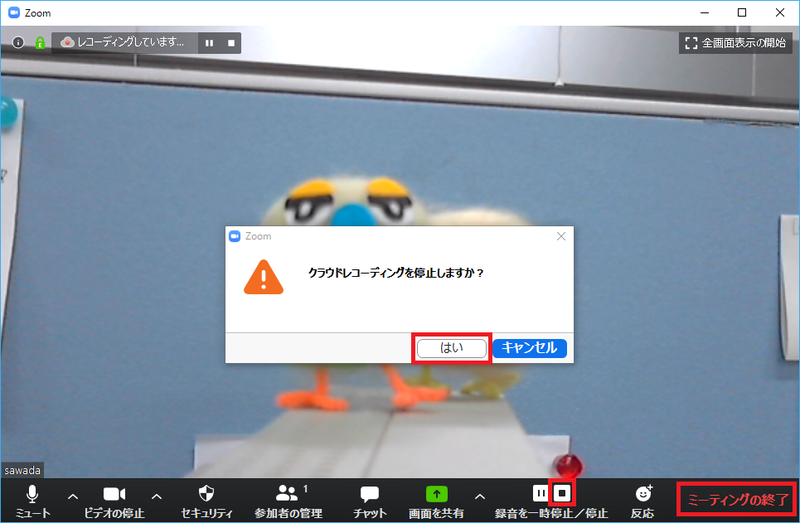
4.Click "stop" (or "finish the meeting") when you finish the recording, and click "Yes".
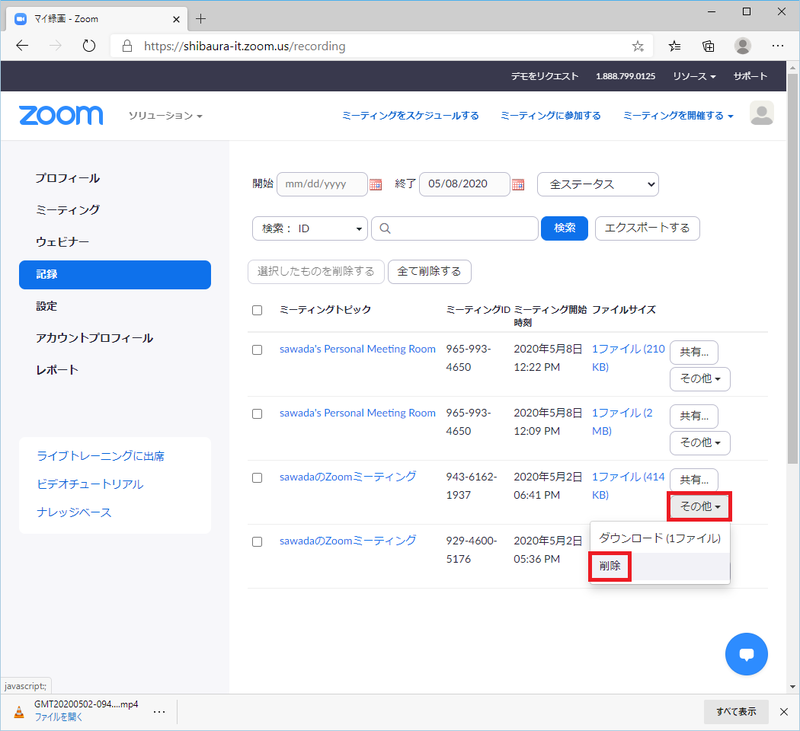
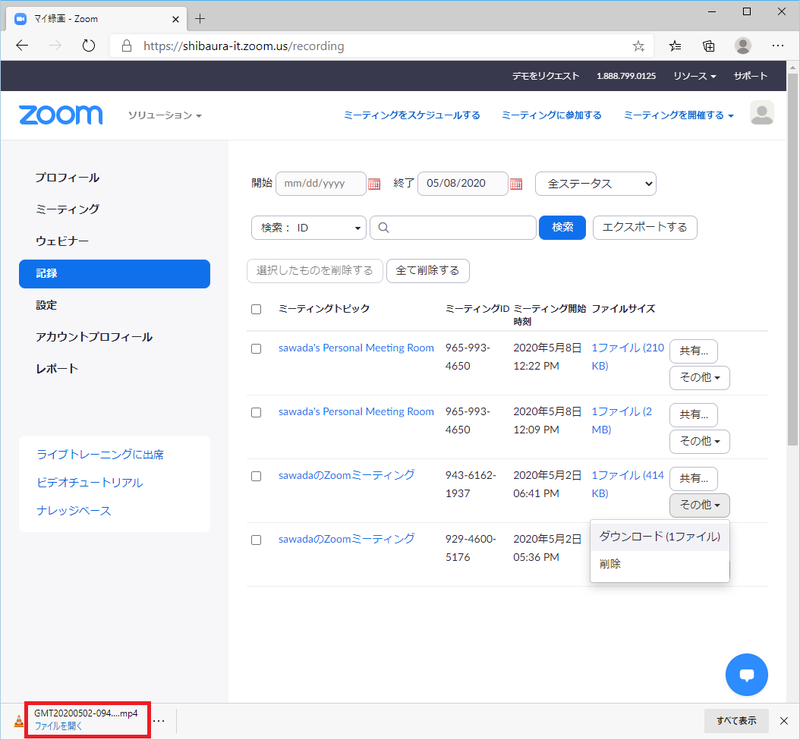
5.The list of recorded data is displayed when you sign in the Zoom and click "recording".
Click "others" from purpose classes, and click "download (1file)".
※Don't publish the data in the Zoom cloud.

6.The extension mp4 file is downloaded to local PC.
7.Publish the recorded classes data with Microsoft Stream.
8.In the Zoom, click "others" and select "delete" after you upload the data to Microsoft Stream.