
Home > Frequently used guides and links > Frequently used guides and links (the first time) > Guideline for new students > omedeto_din > Get ready for class! > How to use ScombZ
How to use ScombZ
Updated: Mar. 29, 2023
ScombZ is a web service that combines a portal page and LMS.
Shibaura Institute of Technology uses ScombZ not only for classes, but also for disseminating information related to student life!
First, please set up Microsoft’s multi-factor authentication (MFA).
This authentication method will also be used for other services, so be sure to complete the setup.
※The ScombZ authentication platform supports Single Sign-On (SSO).
Depending on the situation, you may not need to enter your ID and password.
If the “Login Complete” screen (2.5) appears at the end, the configuration has been successfully completed.
| Achievement goal |
・Can use Microsoft 365 Multi-Factor Authentication |
|
Contents |
1. Set up Microsoft 365 Multi-Factor Authentication
To use ScombZ, you must first configure Microsoft 365 Multi-Factor Authentication.
Starting from October 2025, multi-factor authentication (MFA) has become mandatory for almost all systems related to our university.
By using MFA, you can reduce the risk in case of password leaks.
It is recommended to have both a PC and a smartphone ready for registering MFA (smartphone is required).
Please prepare them before starting.
In the instructions below, the following icons indicate the device to use:
indicates a PC operation or screen.
indicates a smartphone operation or screen.
1.1 Install Microsoft Authenticator App (Smartphone)
Scan the following QR code with your smartphone to install the Microsoft Authenticator app.

※After installation, open the app once and tap "Continue" or similar until the "Add Account" screen appears.

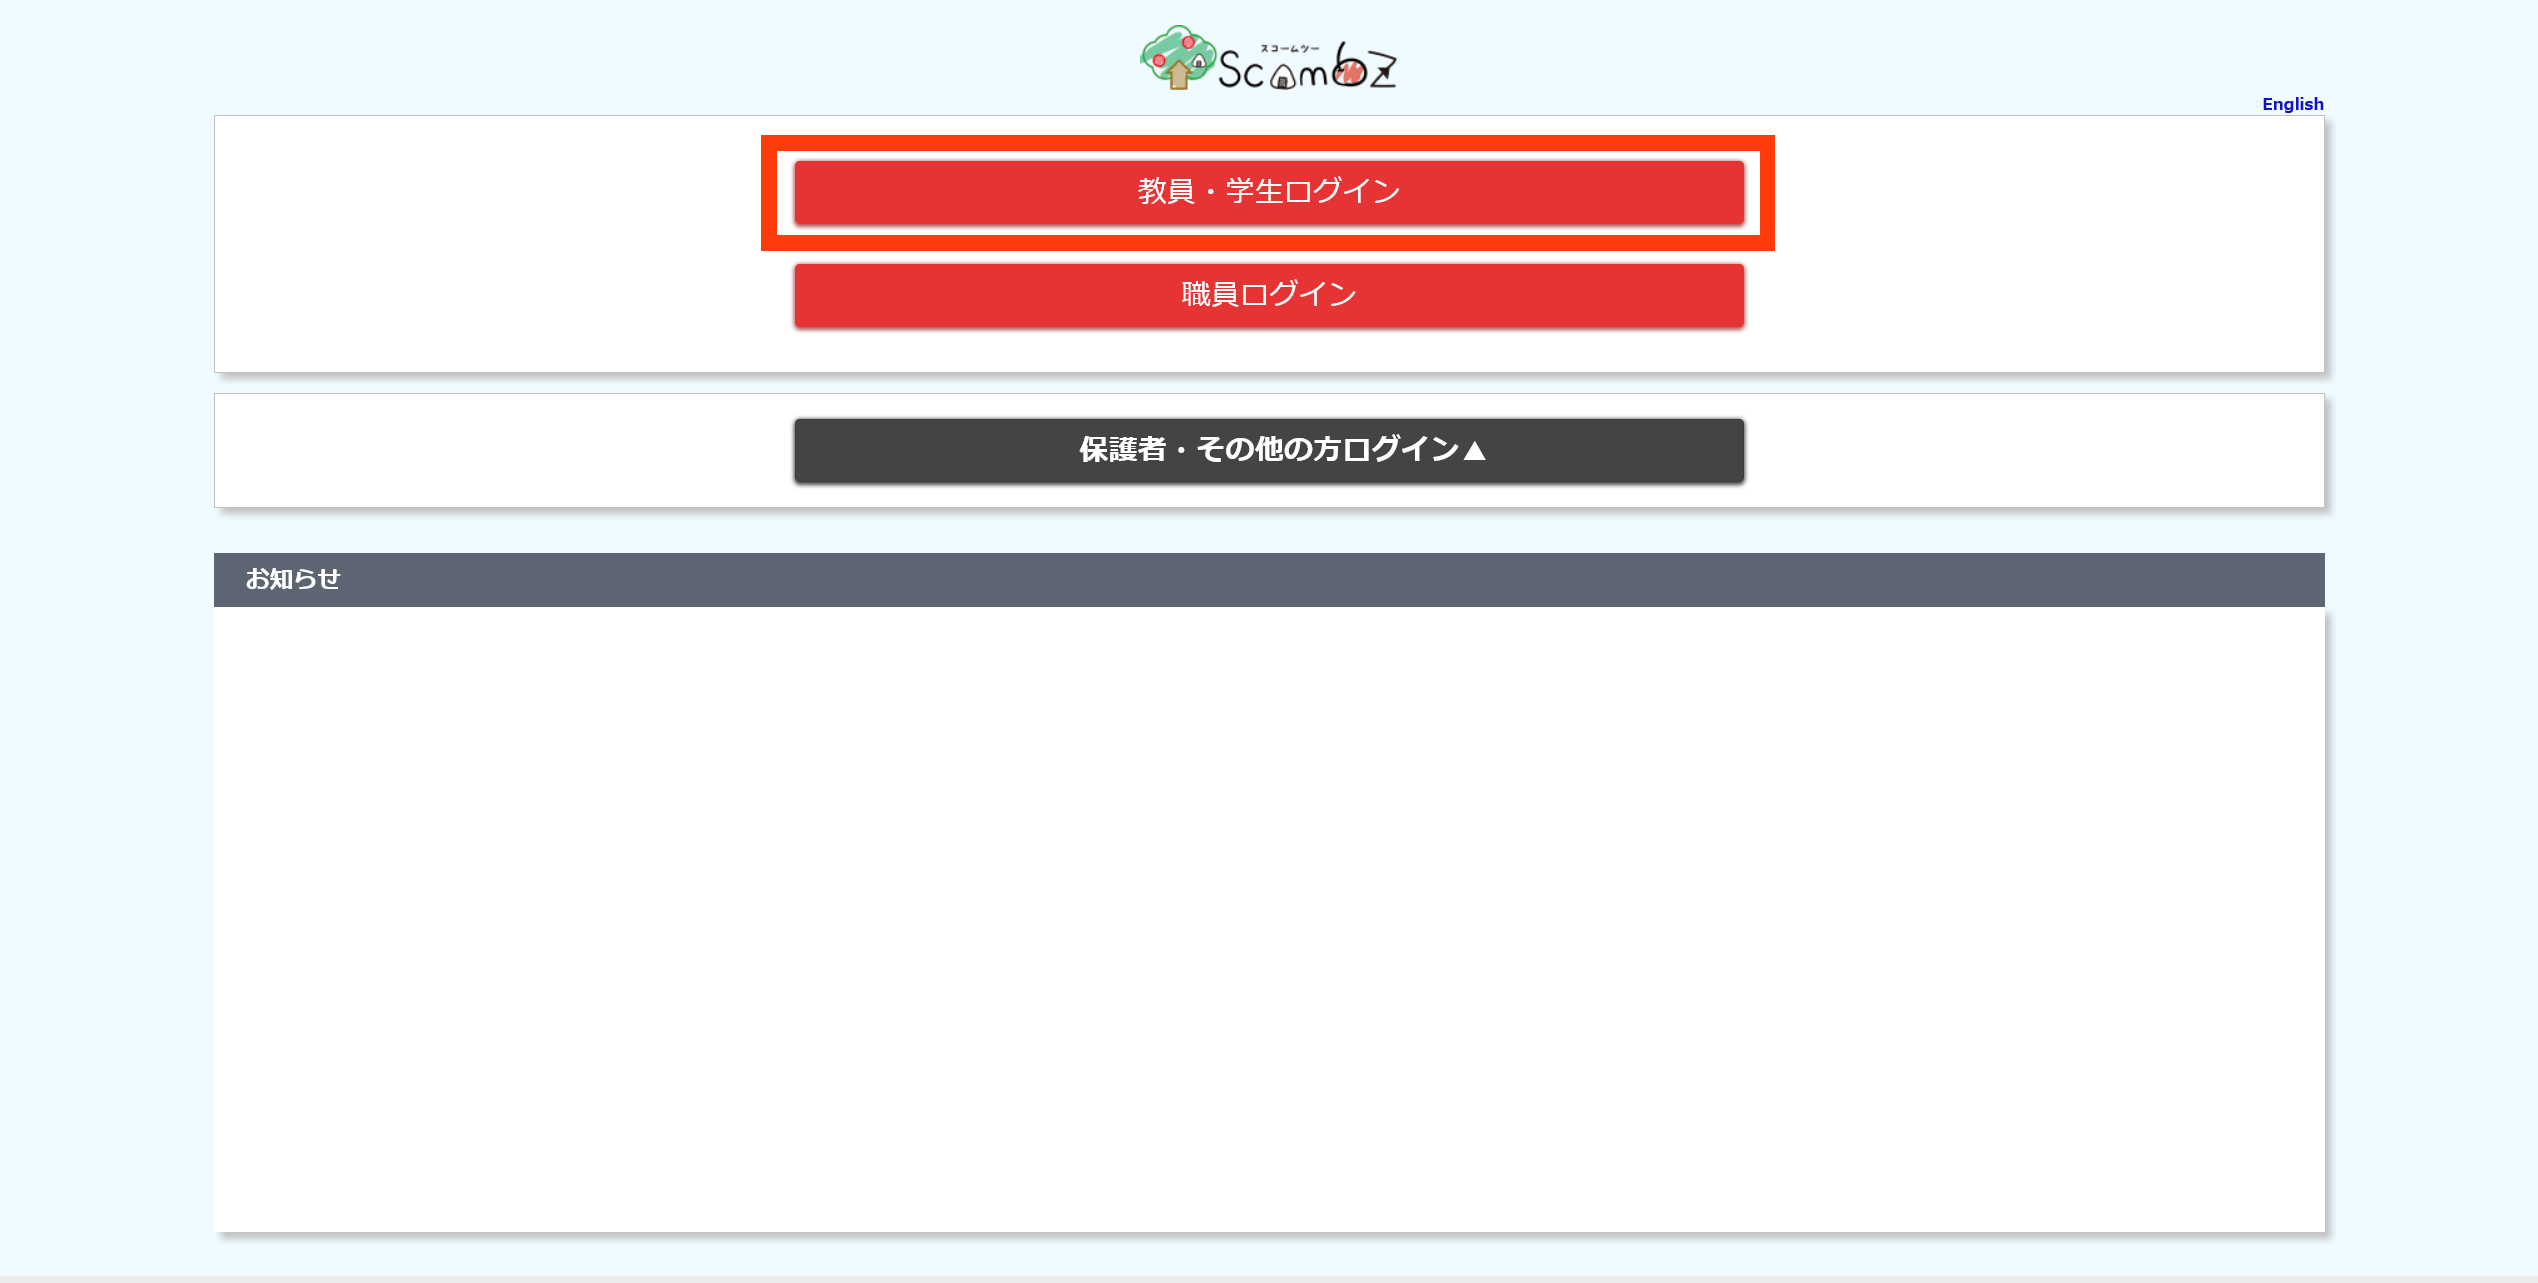
1.2 Access ScombZ (PC)
Go to ScombZ and sign in.
URL: https://scombz.shibaura-it.ac.jp
Username: Gakujou ID@sic
Password: Windows password
Click "Azure Multi-Factor Authentication".
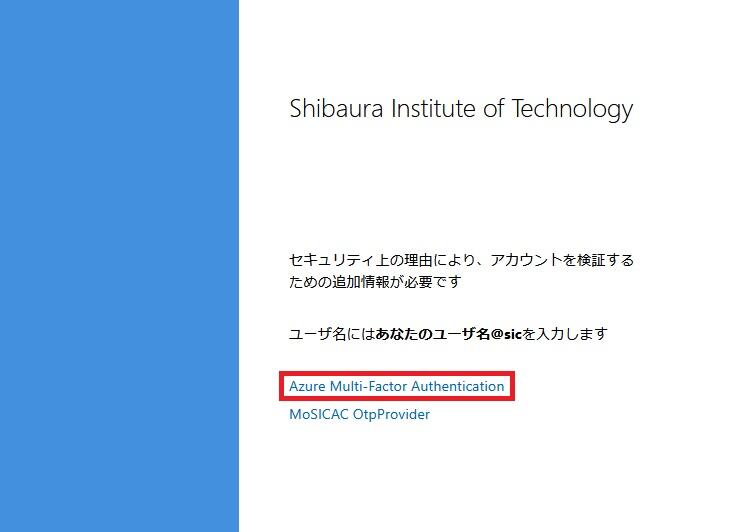
If MFA is not registered, you will be automatically redirected to the registration page.
If not redirected, click the "here" link on the screen.

Confirm that the address indicated by the red arrow is your Microsoft account used at the university.
If confirmed, click "Continue".
※If it does not appear, proceed to the next step.

When the following screen appears, click "Next".

When the following screen appears, click "Next".

Proceed to the next step when the screen below is displayed.

1.3 Add Account to Authenticator (Both PC and Smartphone)
Open the Microsoft Authenticator app and add a new account.
Tap the "+" icon at the top right
Select "Add Account".
Select "Work or School Account".

Select "Scan QR Code".

Allow camera access and scan the QR code displayed on the PC in step 2.6.
Then, allow notifications.
※If notifications are not allowed, MFA cannot be used.
Scan the QR code displayed on the PC with your smartphone. A two-digit code will appear on the PC.
Follow the on-screen instructions and enter the two-digit code in the app, then tap "Yes".

If the PC displays the "Name your app password" screen afterward, set a name with 8 to 16 characters and follow the instructions.
Microsoft Authenticator sign-in registration is complete.
|
※If you change your smartphone, you need to register the new device in Microsoft Authenticator. Before changing devices, connect your current device to the network (e.g., Wi-Fi) and follow the steps in How to Transfer Microsoft 365 Multi-Factor Authentication to register your new device. If your current device is unavailable, a manual reset is required. |
2. Log in to ScombZ
2.1 Go to the following URL
https://scombz.shibaura-it.ac.jp
2.2 Click on “Login”
2.3 Enter “User Name” and “Password”
User name: Academic ID@sic (e.g. aa00000@sic)
Password: Windows password
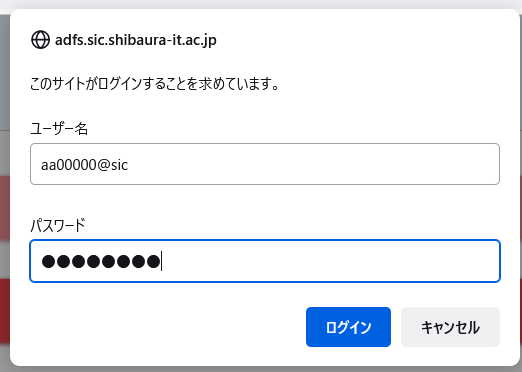
2.4 Click “Next
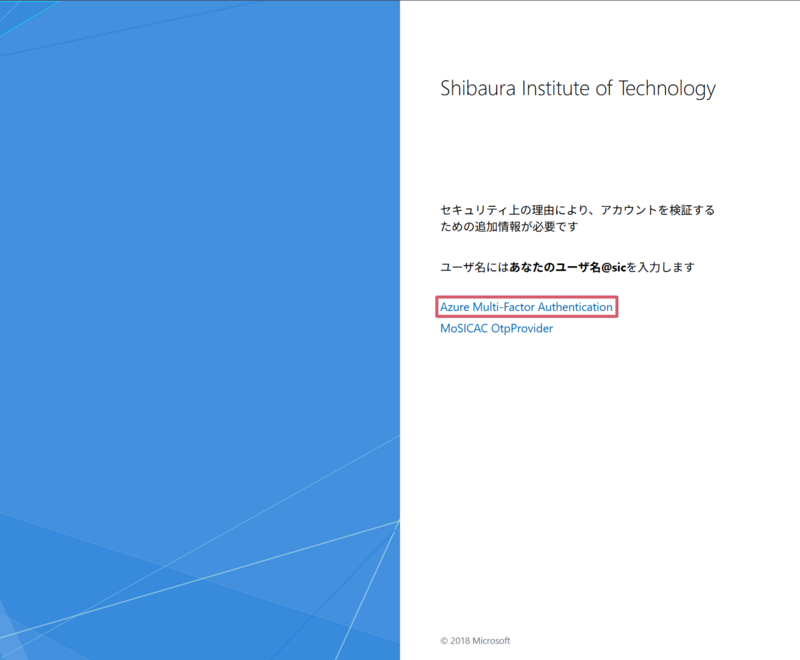
2.4 Click "Azure Multi-Factor Authentication"
Clicking multiple times may cause you to reach the maximum number of authentication attempts.
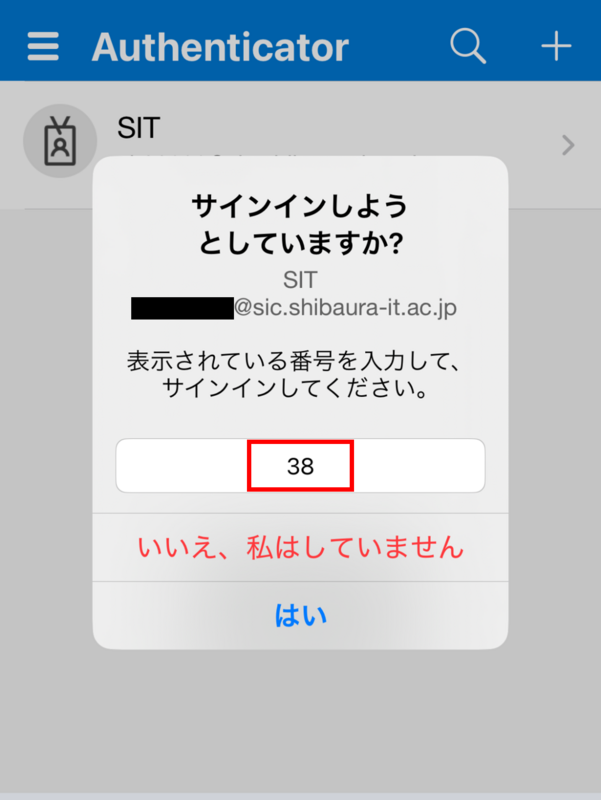
A number will be displayed as shown below.
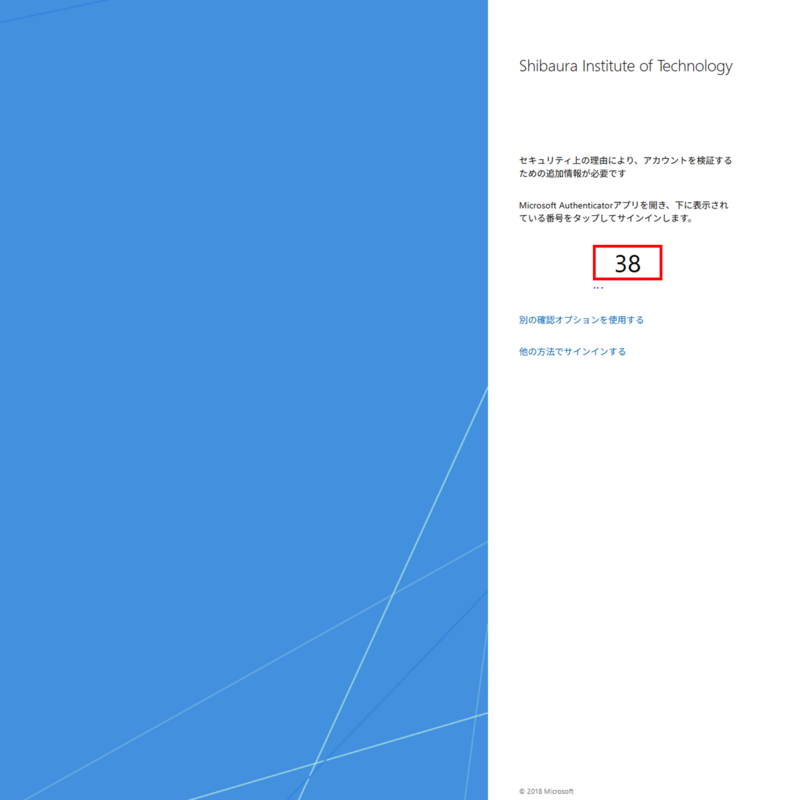
Open the Authenticator app on your smartphone and enter the number.
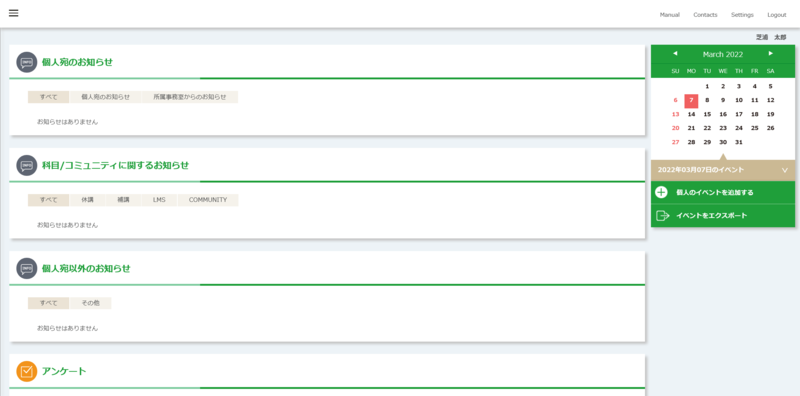
2.5 Login Completed
The ScombZ top page will appear.
3. Accessing The Community
Apart from the portal site and LMS functions, ScombZ has a community function.
In the community, the administrator (faculty or staff) groups users in a certain unit and has the ability to distribute materials and issue assignments.
It is positioned as an LMS that is not tied to classes.
There are various communities available, which we hope you will check out.
Example: New student community
First-year students community
Teaching community
※Please be sure to check the manual for course registration in the New Student Community.
3.1 Log in to ScombZ (see “1. Log in to ScombZ”)
3.2 Click on “Community”
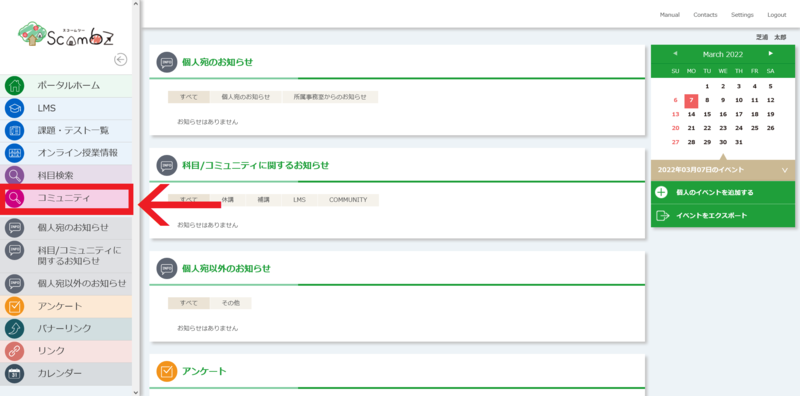
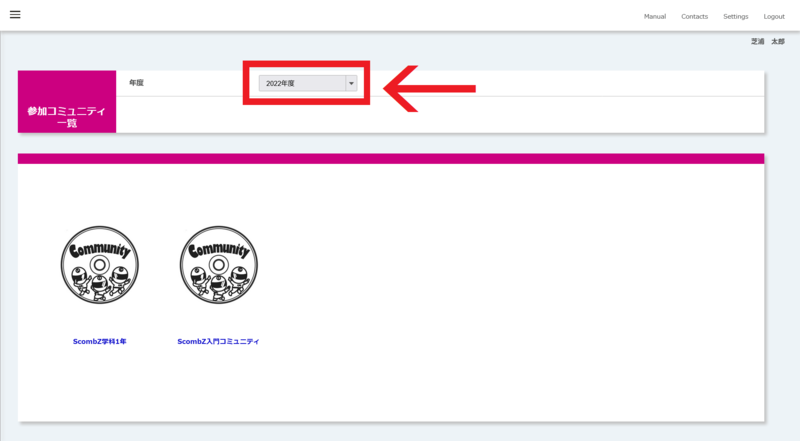
3.3 Accessing the desired community
You will be redirected to the list of participating communities, and if you click on the community you wish to access, your access is complete.
At this time, please make sure that the fiscal year circled in red is the current fiscal year.
4. Check The Notices in ScombZ
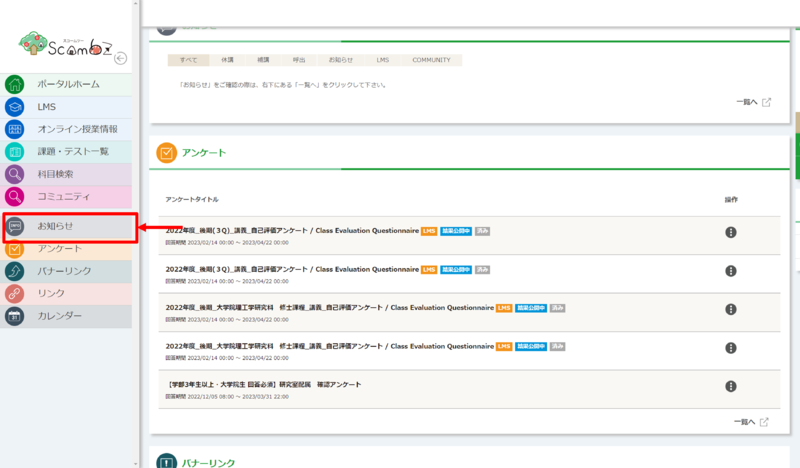
4.1 Click on “Notices”
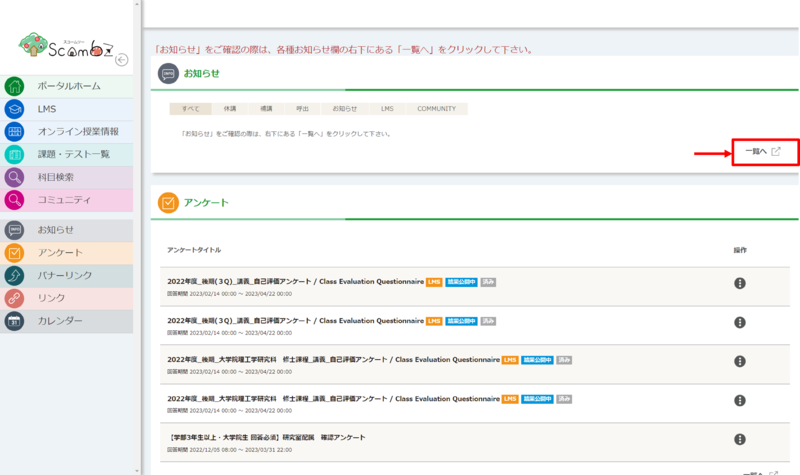
4.2 Click on “List”
Unless you click “List”, no notices will be displayed!
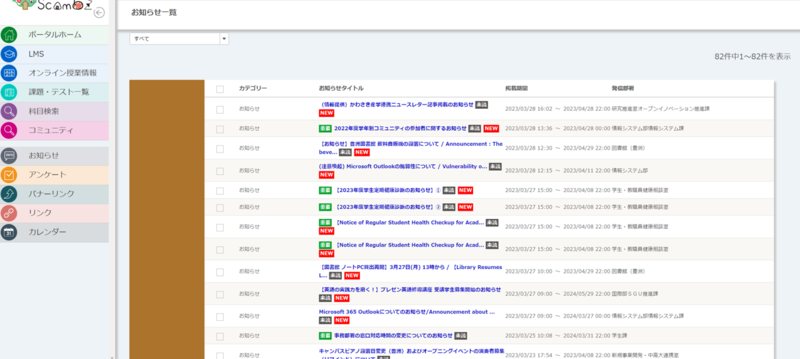
4.3 Checking Notices
A list of currently received notifications is displayed.
Fin. Setup is complete
Let’s review the settings made on this page.
★ In “1. Set up Microsoft 365 Multi-Factor Authentication,” set up two-step verification using Microsoft Authenticator.
★ In “2. Log in to ScombZ,” log in to ScombZ using two-step verification.
★ In “3. Access The Community,” confirm your assigned community.
★ In “4. Check The Notices in ScombZ,” check announcements from the university.
When everything is finished, move on to the next step "How to Use Zoom".
What if it doesn't work or I'm not ready?
Please contact oshiete@sic.shibaura-it.ac.jp
*Student staff will reply to student inquiries ML. Please pay attention to the content.
Please enter the following information in the email. If not, leave blank.
copy-and-paste-------------
Confirmed precautions: (〇 or ✕)
Student Number: (Students only)
Belongs:
Name:
Date and time of the problem:
Operating System:
Browser used:
Owner of the device: (individual, lab, PC lab, etc.)
Details of your inquiry:
Description of the screenshot if available:
-------------------
For details on how to contact us, please click here.