Home > Service > Class support > Scanner > Large scanner
Large scanner
Updated 2021/06/26
In-page links
- What to do when a document is loaded at an angle
- How to deal with the message "The scanner is not ready. Would you like to continue? "
How to use
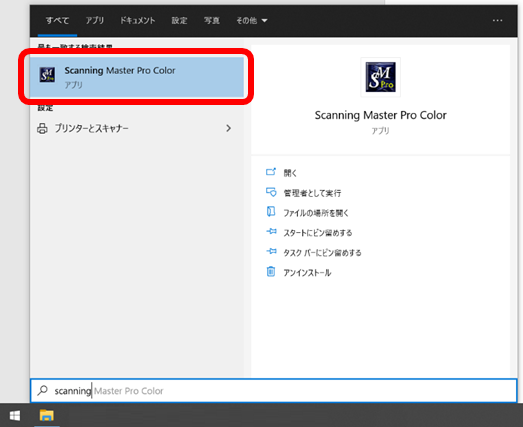
- Loanch scan software.
Click the "Start" menu and type "Scanning Master Pro Color" to launch the software. - Model setting(Only when using for the first time)
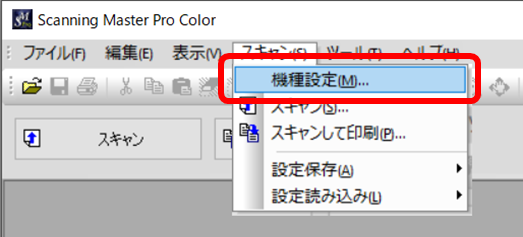
Select "Scan(S)" ⇒ "Model setting(M)"
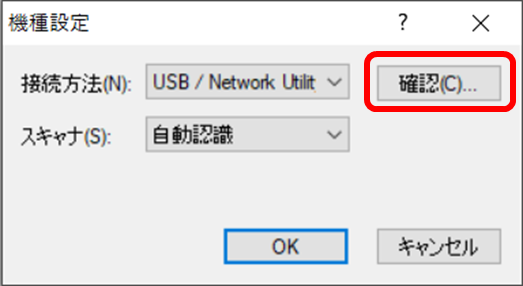
When the model setting dialog box appears, make sure it is set to "Auto-recognize" and click the "Confirm" button.
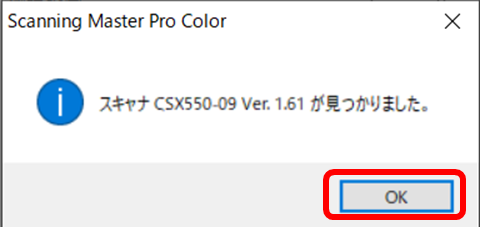
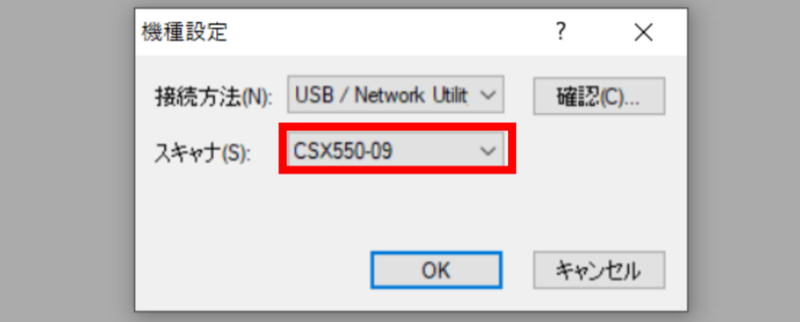
If the following message is displayed, the model setting is complete. Click the "OK" button to close the dialog. - Select "Scan(S)" ⇒ "Model setting(M)"
- Select "CSX550-09" and click the "OK" button.
- Next, load the document.
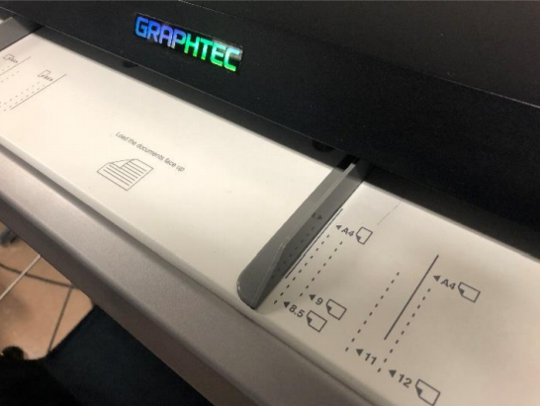
Move the paper guide to the left or right to match the width of the document.
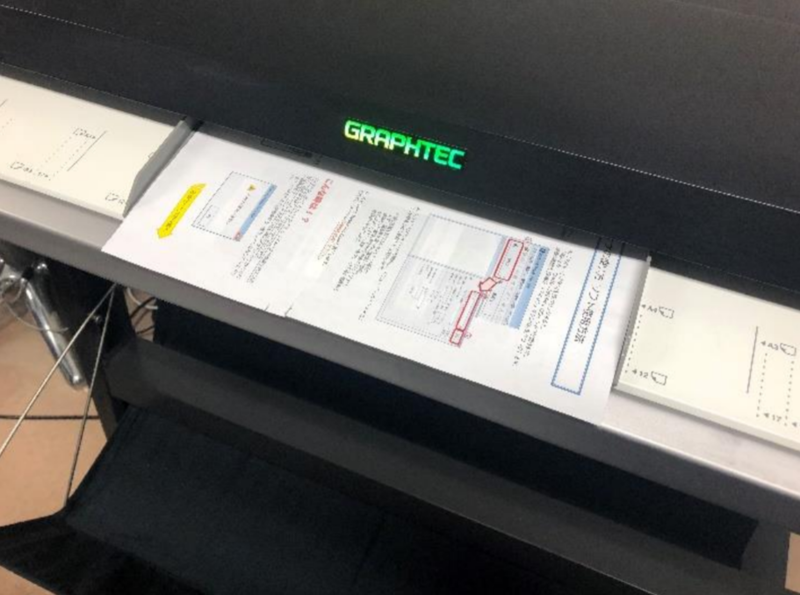
Align the outside of the guide with the guideline corresponding to the size and orientation of the paper (A4 in the example). - Turn the scanning surface of the original upwards and set it near the scanning entrance, it will be set automatically to the scanning start position.
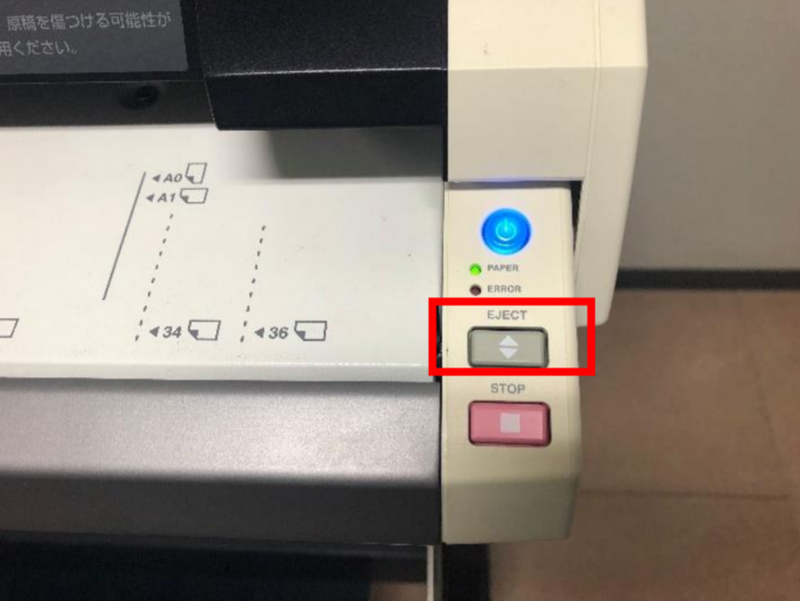
At the point where the manuscript stops, it is set completion.What to do if your manuscript is loaded at an angle?
Press the "EJECT" button, remove the document, and then reinsert it. - Return to the software operation.
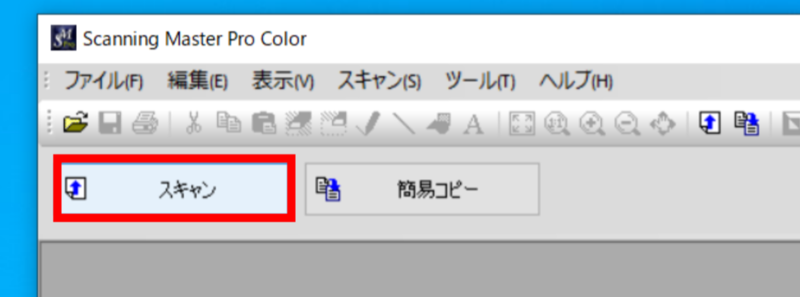
Click the "Scan" button to open the "Import -CSX550-09" window.
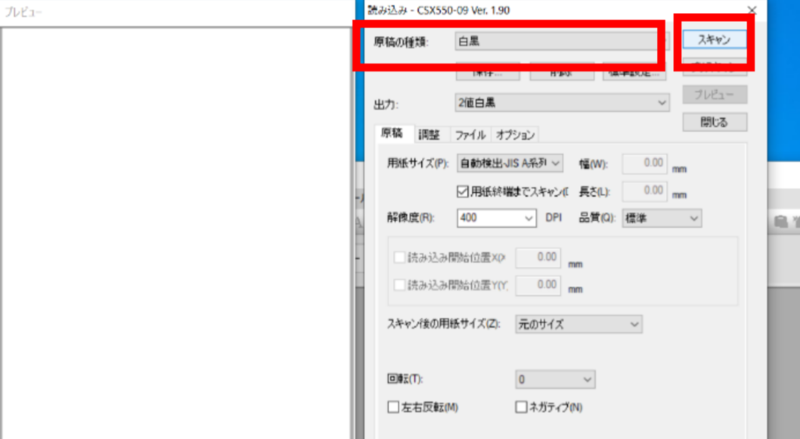
Select the type of document you want to scan and click the "Scan" button.How to deal with the message "The scanner is not ready. Would you like to continue? "
There are cases where the message is output when the original is not loaded properly.
Please try loading the original again.
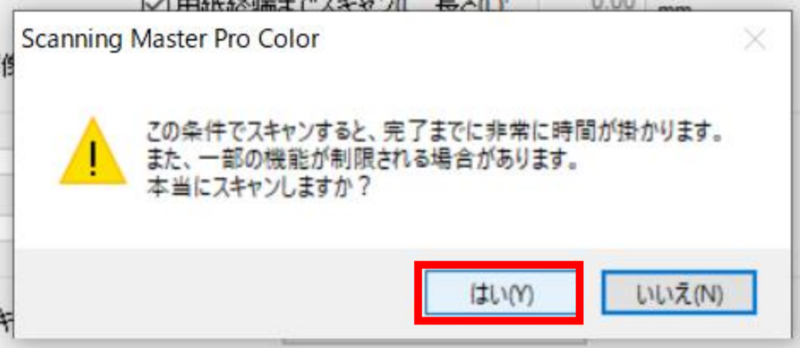
Here are main settings.
When the following pop-up window appears, select "Yes".Tab. Item Manuscript Paper size For A0, A1,..., "Auto detect - JIS A series" is recommended, and for B0, B1,..., "Auto detect - JIS B series" is recommended. Resolution The higher the value, the cleaner the scan will be, but the larger the file size will be and the longer it will take to process. File File name You can set it arbitrarily.
You can change the destination by clicking the "Browse" button next to it.
File type If you need to convert JPEG, PDF, etc., please set it here. - Review the scanned image and save it by clicking "File" on the menu bar and then "Save as...".
*If you wish to scan the same document again, please remove the document and reload it.
If you click the "Scan" button without changing the settings, there is a high probability that a paper jam will occur. - Close Scanning Master Pro Color.
Don't forget to collect your document from the scanner.
- Press the "EJECT" button to remove the document.
Be sure to remove the document after scanning is complete.