
Home > Service > Printing > Printing equipment > Kyocera TASKalfa 5054ci Installation Guide(MacOS)
Kyocera TASKalfa 5054ci Installation Guide(MacOS)
2026/01/16 Update
| Target group | All students, All faculty |
| Precautions |
|
1.Access here
2.Select appropriate version of "MacOS" from "Please select the OS".
3.Click "Mac Printer Driver" from "Printer Drivers".
4.After clicking the "I agree to the agreement and download" button, the file will be downloaded to the "Download" folder on your own PC.
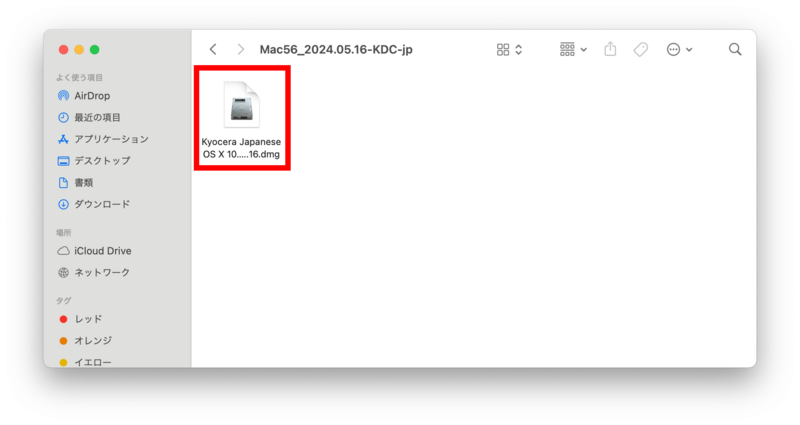
5.Double-click the “.dmg” file inside the folder.
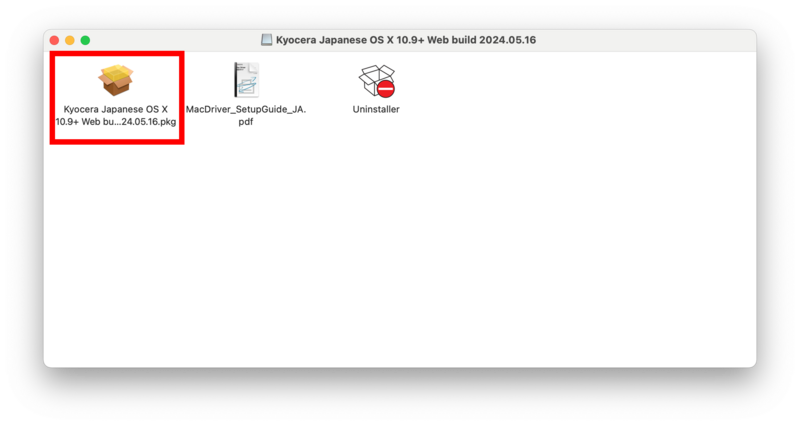
6.Double-click "Kyocera Japanese OS X 10.9+..pkg".
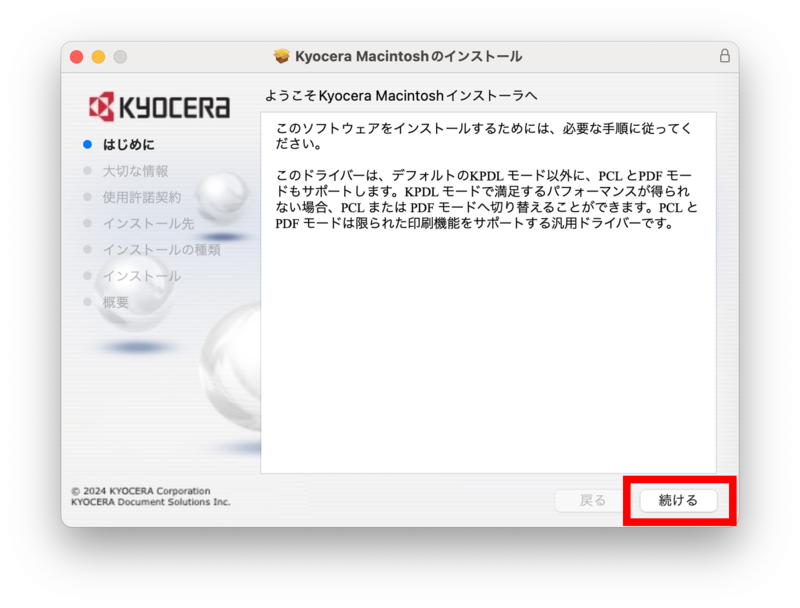
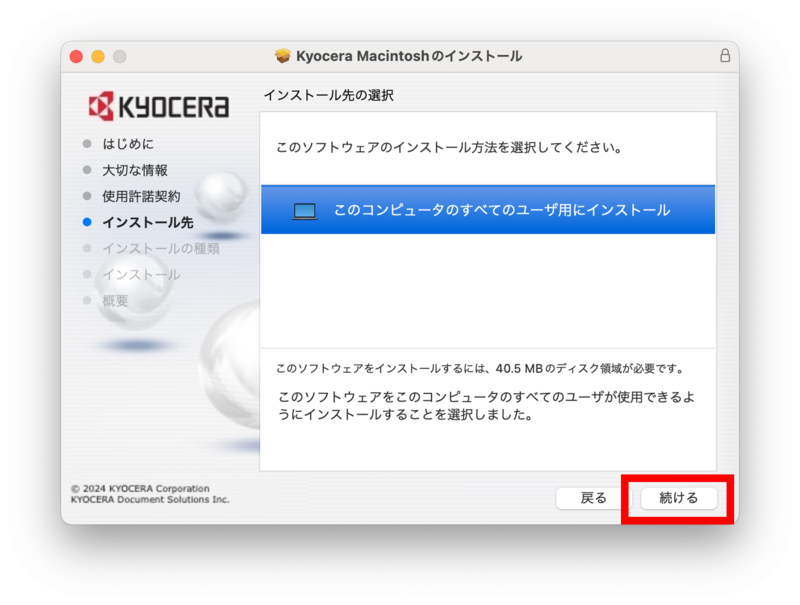
7.Click "Continue".(The arrows in the figure below)
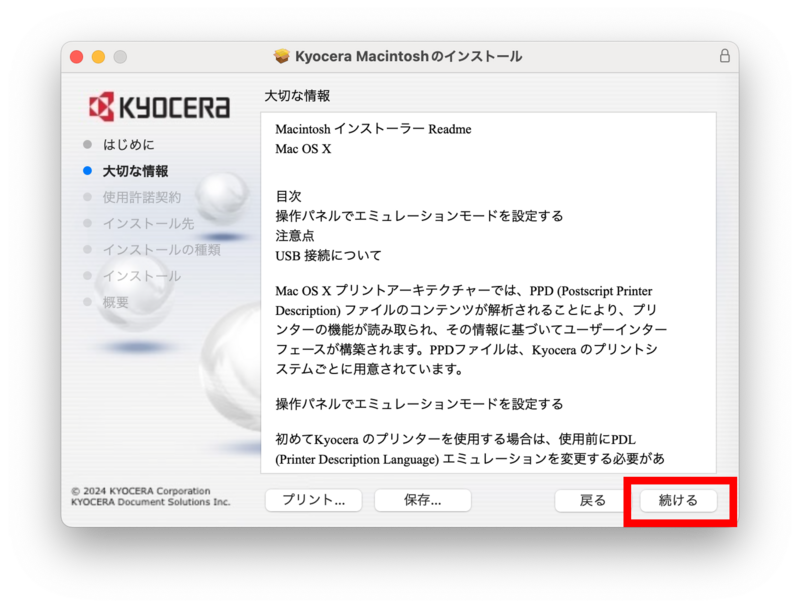
8.Click "Continue".(The arrows in the figure below)
9.Click "Continue".(The arrows in the figure below)

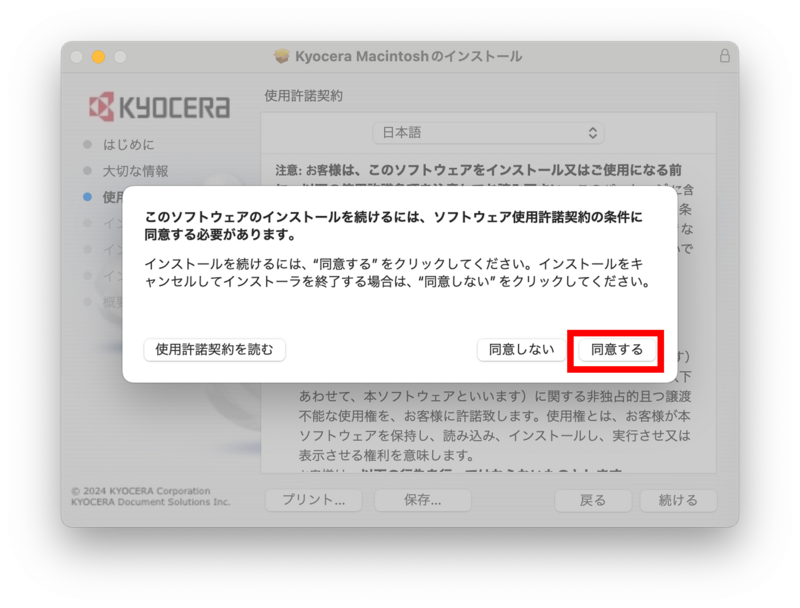
10.Click "I agree" and then click "Continue".(The arrows in the figure below)
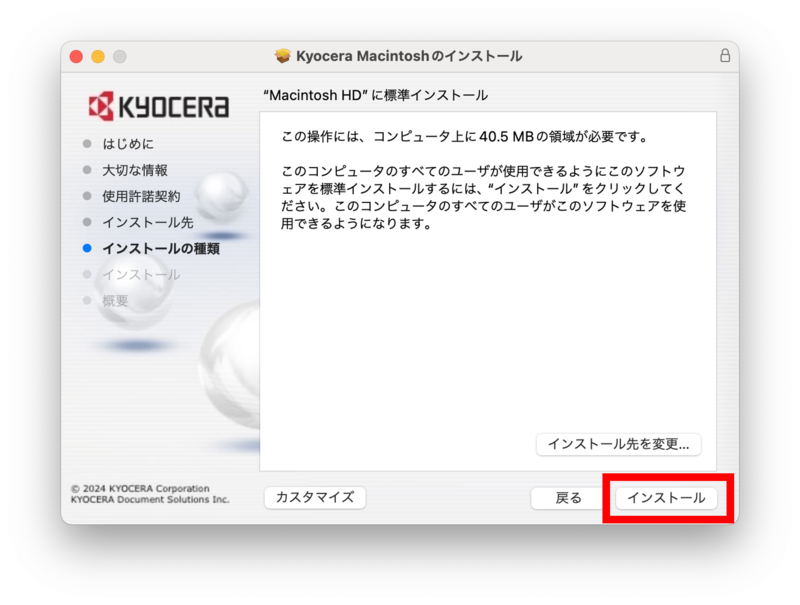
11.Click "Install".(The arrows in the figure below)
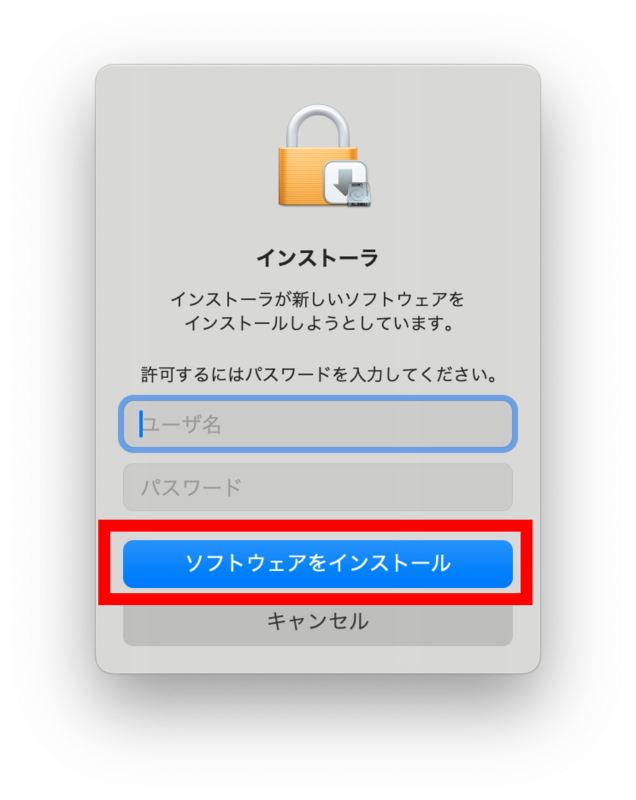
12.Enter the "User Name" and "Password" of your PC and click "Install Software".
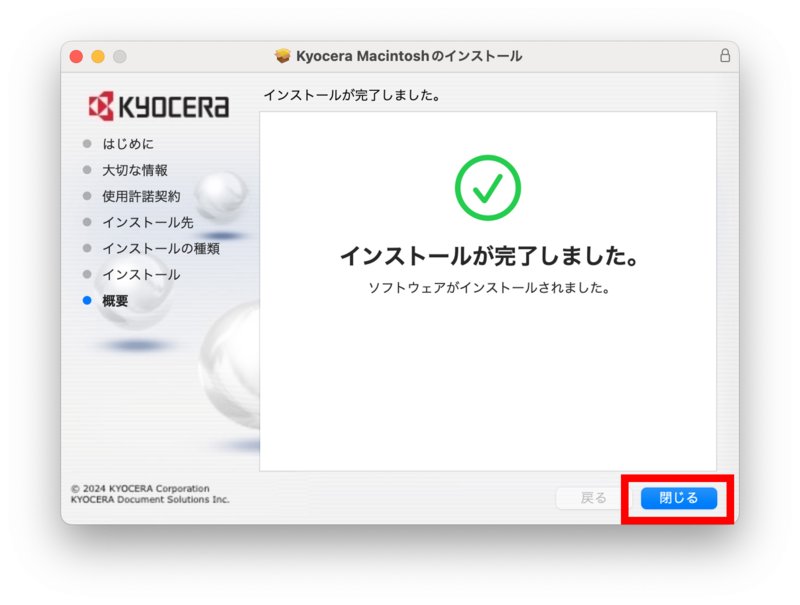
13.Click "Close".(The arrows in the figure below)
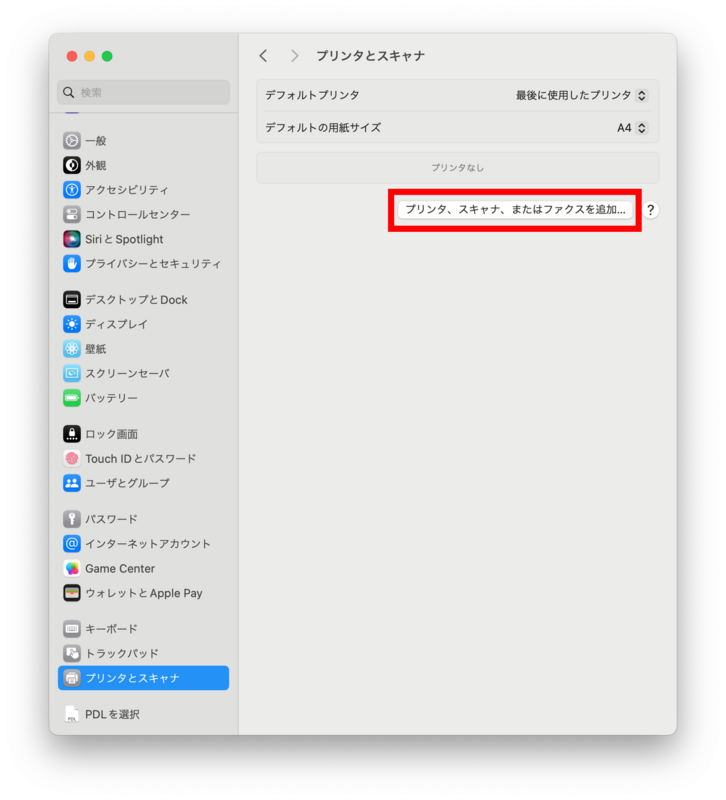
14.Open "System Settings" and select "Printers and Scanners".(The arrows in the figure below)
15.Click the "Add Printer, Scanner, or Fax..." button.(The arrows in the figure below)
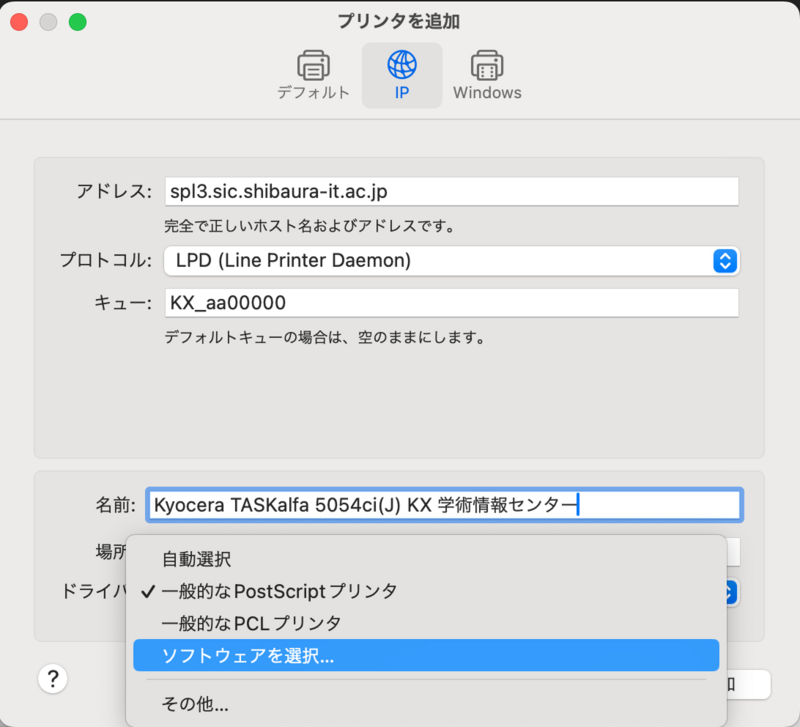
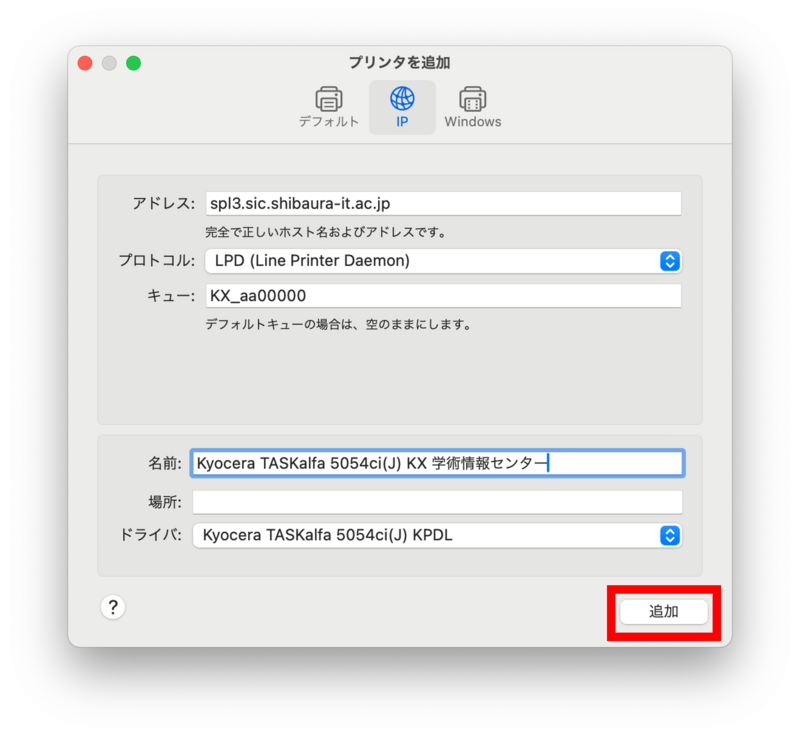
16.Open the "IP" tab and enter the following information.
Address : spl3.sic.shibaura-it.ac.jp
Protocol : LPD (Line Printer Daemon)
Queue : KX_Student ID
Name : Kyocera TASKalfa 5054ci(J) KX Academic Information Center(Arbitrary printer name that is easy to understand)
Driver : Click on "Select Software" to continue
※Please enter your queue's academic ID in lower case.
Ex)KX_aa00000
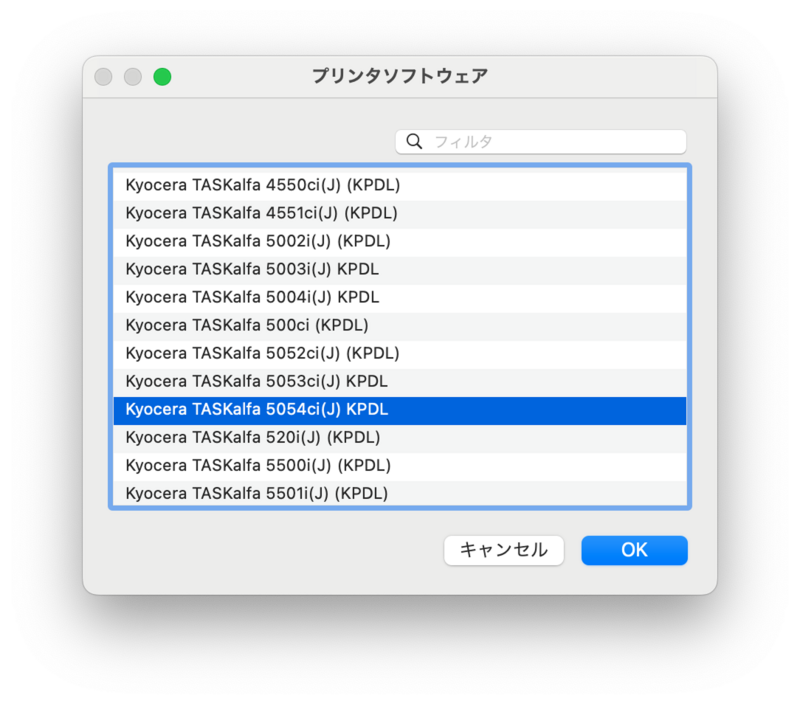
17.Select "Kyocera TASKalfa 5054ci(J) KPDL" and click "OK".
18.Click "Add".
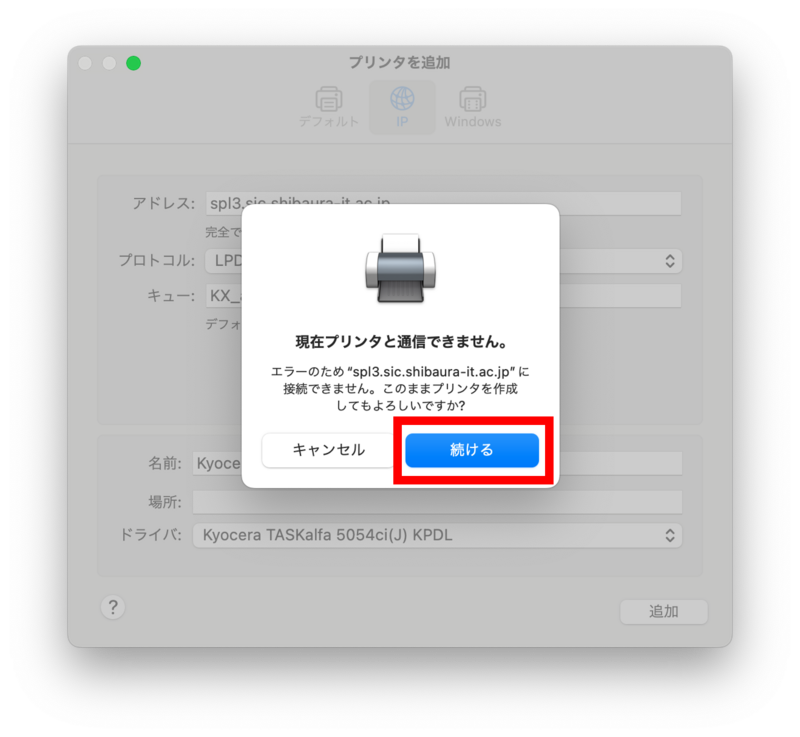
19.Click "Continue".(The arrows in the figure below)
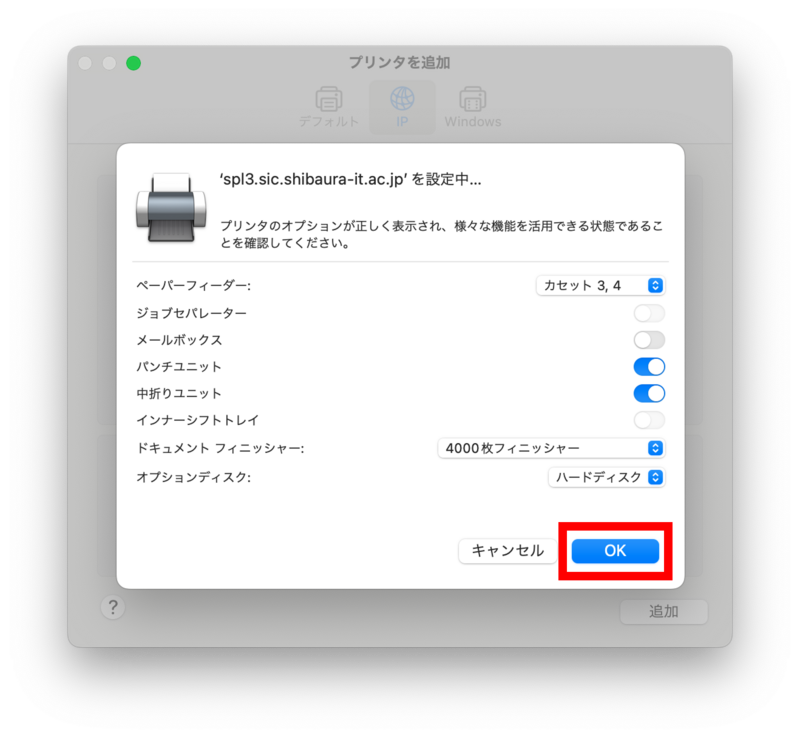
20.Add the following optional settings (■ indicates checked, □ indicates unchecked).
Paper feeder: Cassette 3, 4
□ Job Separator
□ Email box
■ Punch Unit
■ Folding Unit
Document Finisher: 4000-sheet finisher
Option disk: Hard disk
※The "4000-sheet finisher" cannot be selected unless the "Job Separator" check box is unchecked.
※The "Mailbox", "Punch Unit", and "Saddle Fold Unit" cannot be selected unless the "4000-sheet Finisher" is selected.
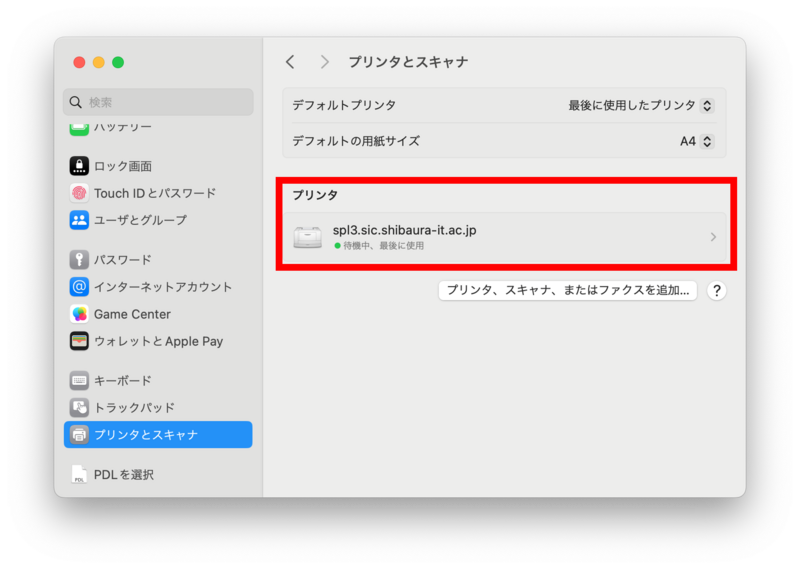
21.A printer is added. As a test print, print an appropriate file or perform a test print.
22.Print jobs are checked here.
※If the user name is capitalized, it cannot be printed.
※You can print only from the campus network.(〇 SRAS5G, SRAS2G, SRAS-WPA, SRAS VPN, SITNET / ✖ eduroam)
23.Move to printing equipment > Hold an IC card (student or staff ID card) over the card reader > Touch "Print" on the control screen. > Touch the "B&W" or "Color" button for the print job. Once printed, the setting is complete.